Fundamentals of Uniaxial Tension (UAT) Testing
Engineering products are designed for more than just looking nice; they often need to be strong enough for the application. But a component can only be as strong as the materials that make it up. Engineers must choose the appropriate materials to build their products, and to do that, they need to know the material properties. This is where material testing comes in.
Materials can be subjected to a wide variety of tests to determine their suitability for applications. This article will focus on a specific type of mechanical test called a tension test (also known as a tensile or uniaxial tension test). We will explore the basics of tension testing, including theory, equipment, methods, results, and testing standards.
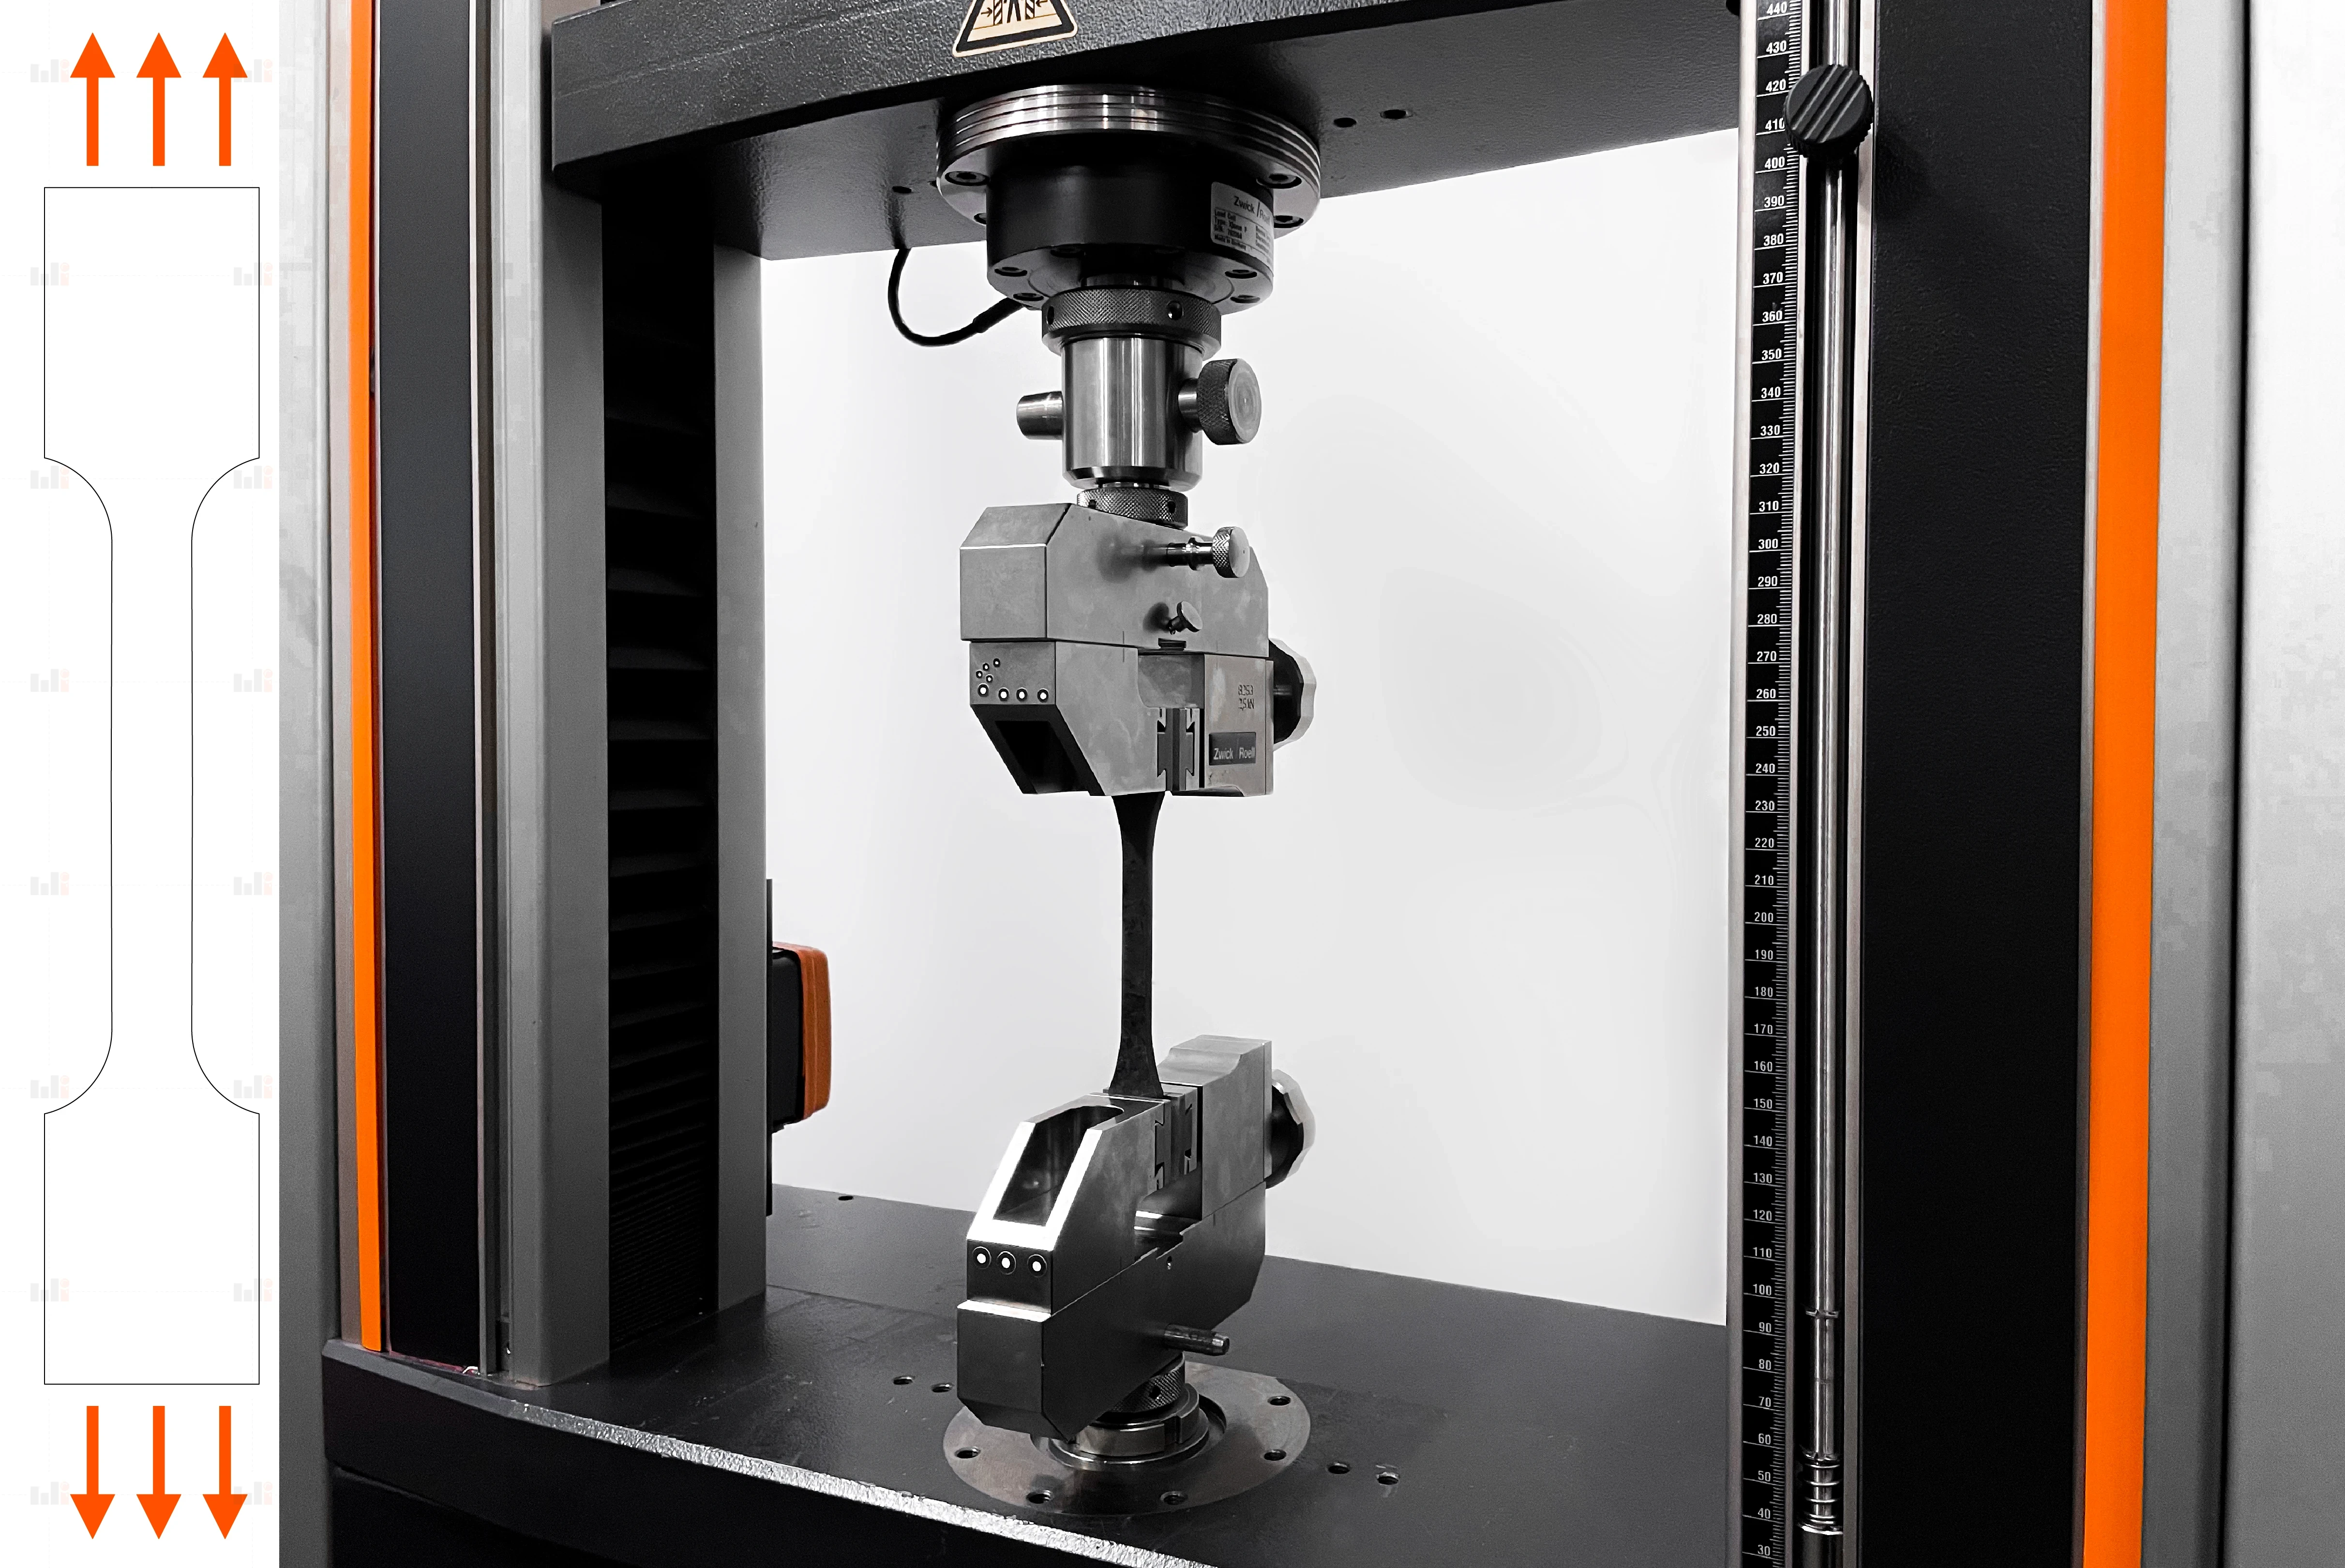
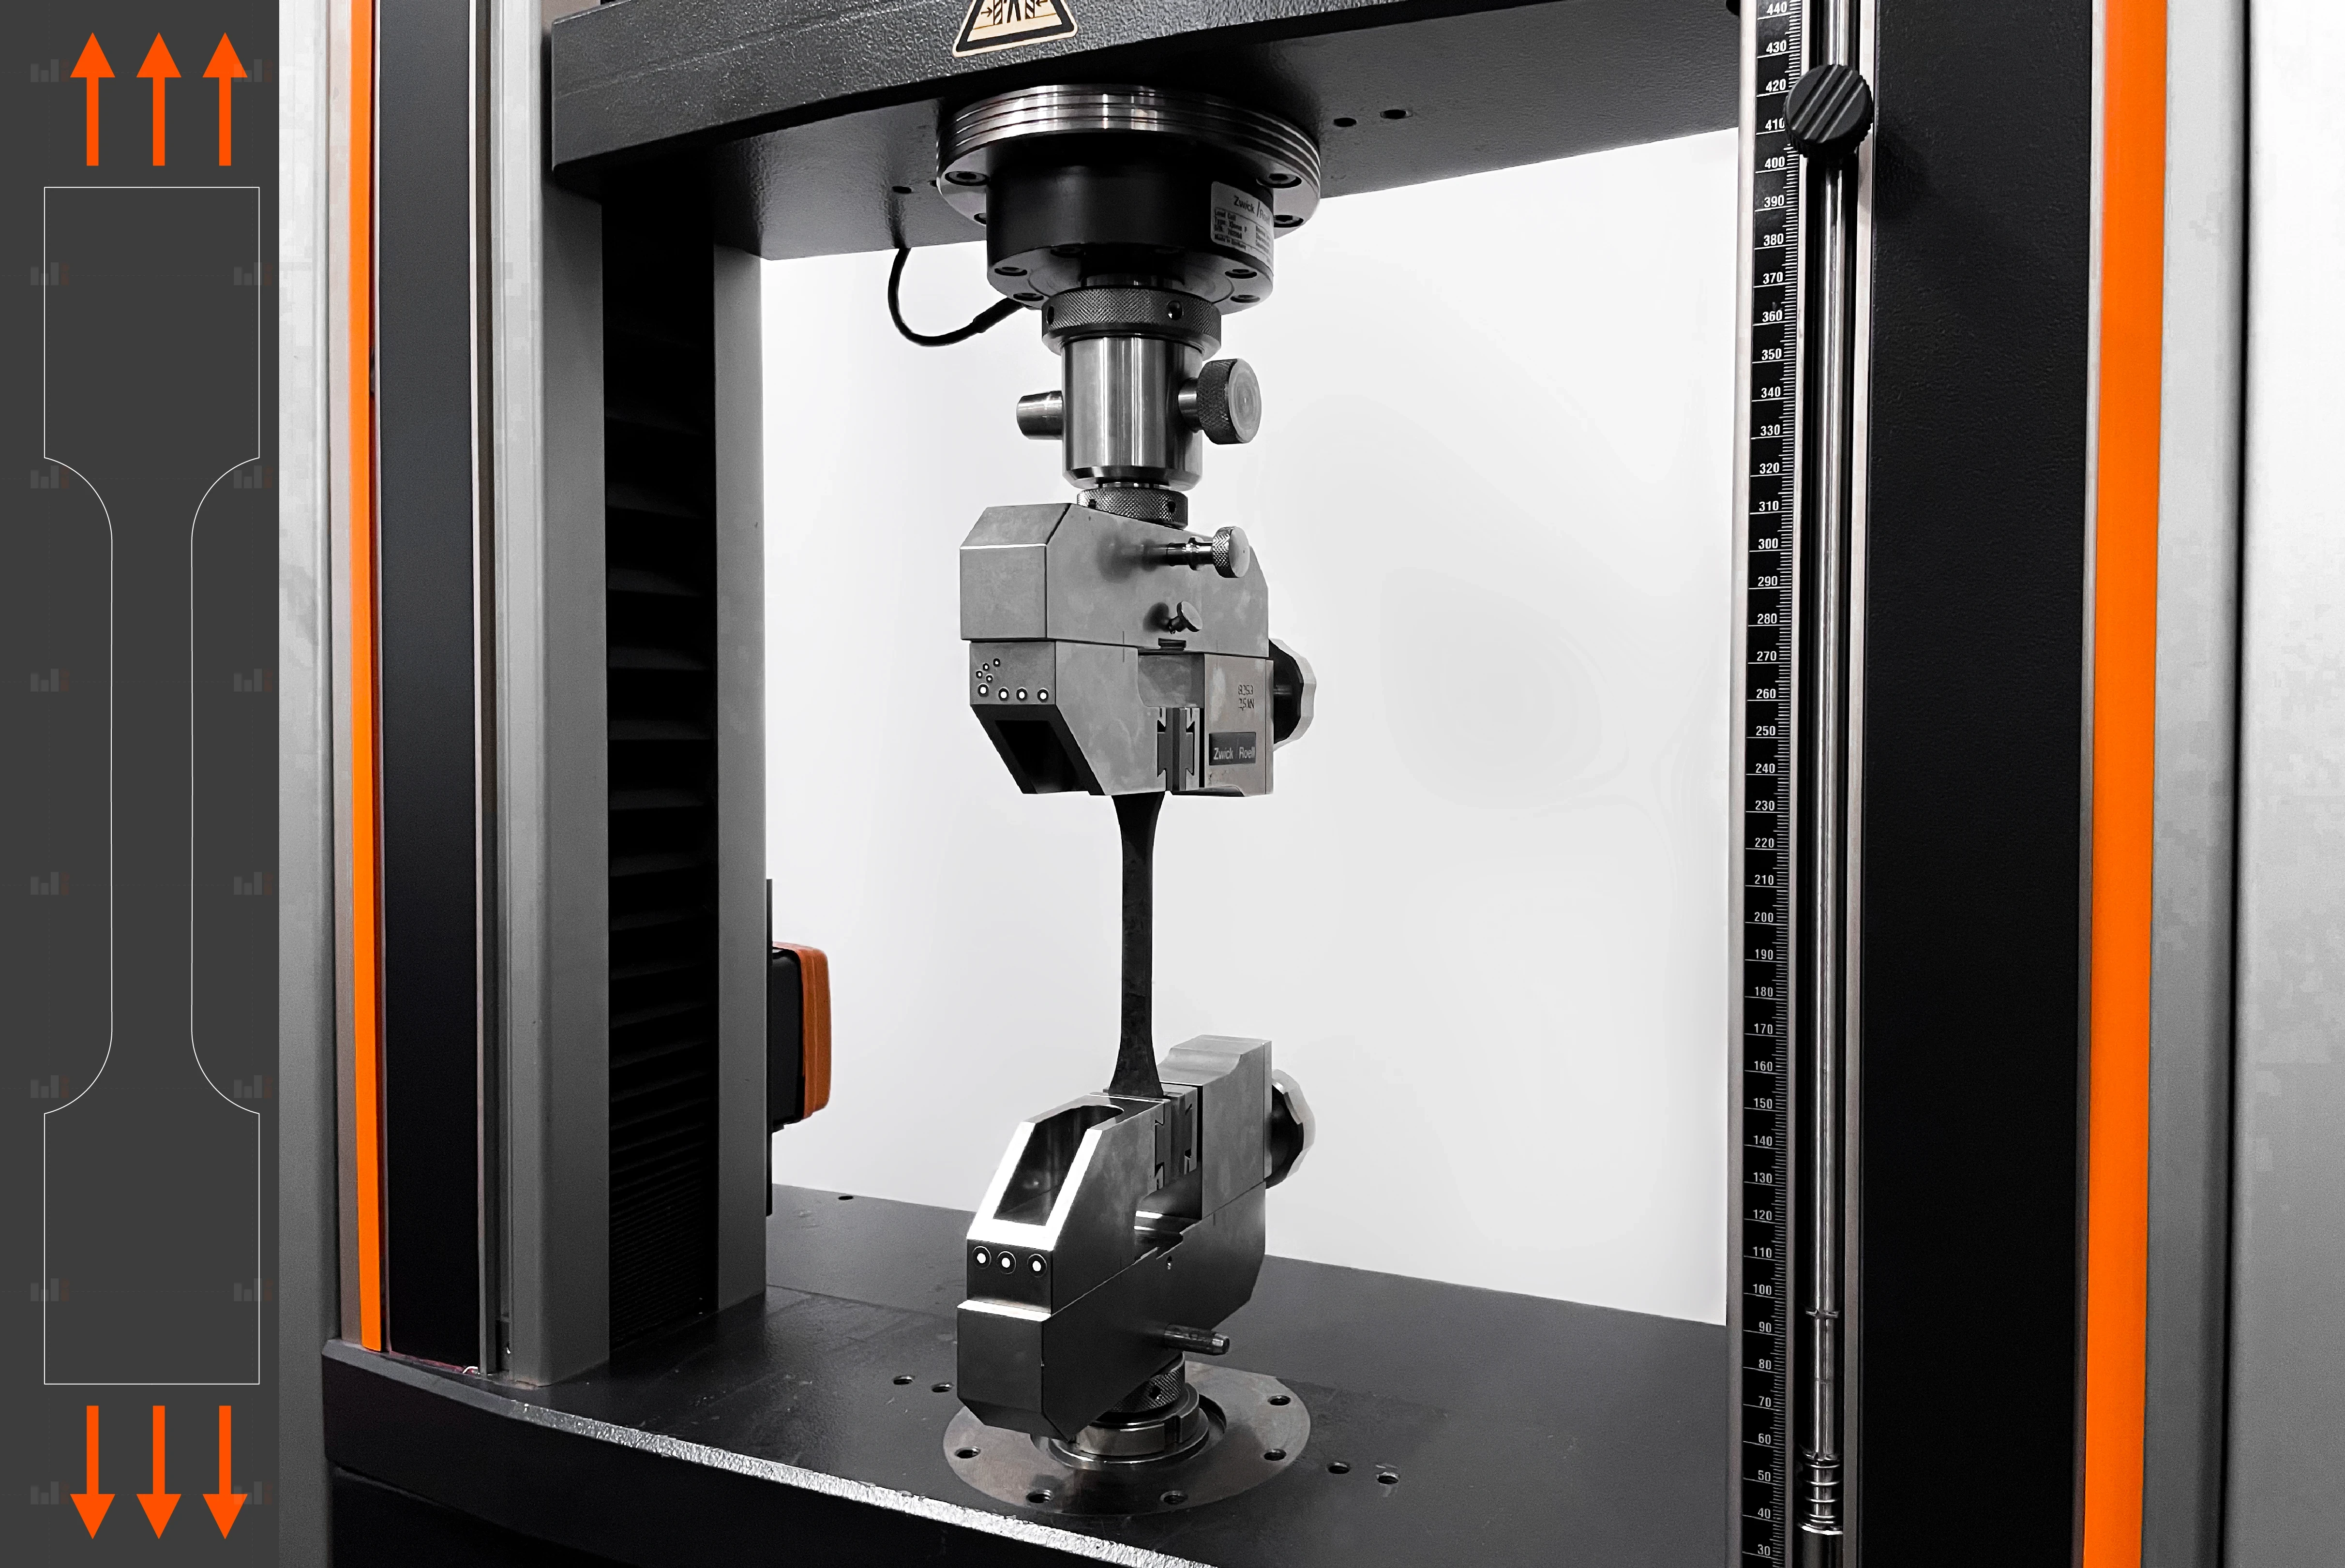 Tension Testing setup
Relevance: Why Tension Testing?
At the most basic level, tension is the pulling apart or stretching, of an object. Uniaxial tension is pulling or stretching along a single direction (or axis). It is inarguably the most common mechanical test for materials. There are several reasons why tensile testing is among the most useful and most prolific test methods.
The first reason is the correspondence to real-world conditions. Objects and devices are often subjected to tensile forces. Think of a stretching rubber band, or the ropes of a hammock. Have you ever opened a heavy door by pulling on the doorknob? The neck of the doorknob experienced tensile forces.
Even the muscles in your body work using tension! The muscular system is a complex arrangement of fibers attached to your rigid skeleton. When you want to move your arm, muscle fibers pull the whole arm where it needs to go. Pull too hard, and it might start to hurt. Athletes can injure themselves by pulling a muscle so hard that it tears. A more relevant example in the industry would be truss structures such as bridges. Truss bridges are designed to distribute the heavy weight of the vehicles crossing them into a network of steel beams. Depending on the design of the truss, some of the beams will experience tension, while others will be compressed.
Real-life loading conditions are usually a little more complicated than pure tension, but tension forces are often a primary concern for engineers who want to design a safe and functional product.
A second reason for the popularity of tension testing is its simplicity. Tension is one of the most well-understood types of loading, and the associated math is relatively simple. For example, the stress due to tension forces is uniform over the object cross-section and is equal to the applied force divided by the cross-sectional area. In comparison, torsional stress is not constant over a cross-section and depends on less obvious properties like the moment of inertia. When material testing engineers try to understand a material’s innate properties, it helps to keep the testing procedure and results only as complicated as they need to be to derive the relevant data. Speaking of relevant data, tension testing can provide insights into a wide range of material properties and behaviors which may be relevant even in situations where the material is not in pure tension. These results (such as elastic modulus, yield strength, ultimate strength, etc.) will be discussed in more detail in a later section.
Tension Testing Equipment and Methods
As previously stated, the objective of a uniaxial tension test is to pull apart a material sample along a single axis. This is usually done until fracture, as several properties of interest are determined by the fracture conditions. As with all experimentation, eliminating extra variables is important. Testing engineers want to carefully control the applied load to eliminate bending and torsional forces.
Testing machines have been designed specifically to accomplish this task. They are known as tension testers, pull testers, or universal testing machines (UTM). A typical tension testing machine is oriented vertically, with two grips to hold the material specimen at both ends. The bottom grip is static, while the top grip moves upward during the test, anchored by the crosshead. The crosshead is a beam that can only move up or down; the speed of a tension test can be expressed by referring to the “crosshead speed.” Crosshead movement is tightly controlled by the machine’s drive system, which in turn is controlled by electronics and dedicated test control software. The control software typically directs the crosshead to move upward at a constant speed, though other control methods such as strain rate control can be used. The grips of a tensile testing machine are precisely aligned to prevent the accidental application of bending forces. Additionally, any rotation in the test piece is avoided, as a non-vertical test piece could result in unwanted shear and bending loads.
The last crucial test components are sensors. The two most important sensors for any tension test are load cells and extensometers. A load cell is a device built to precisely detect forces applied to it and emit an electrical signal of the corresponding magnitude. An extensometer detects changes in length. Some extensometers are mechanical and are attached to a test specimen before the test. As the specimen stretches, the extensometer stretches or extends along with it, sending out a voltage signal corresponding to the amount of extension.
However, extensometers can be virtual as well as mechanical! Virtual extensometers are created using optical metrology techniques, in particular digital image correlation (DIC). For this, the test sample is painted in a speckle pattern and the entire test is filmed using one or more cameras. The DIC software can compare the later images to the initial “reference” image and calculate the displacement (or strain) over the painted surface.
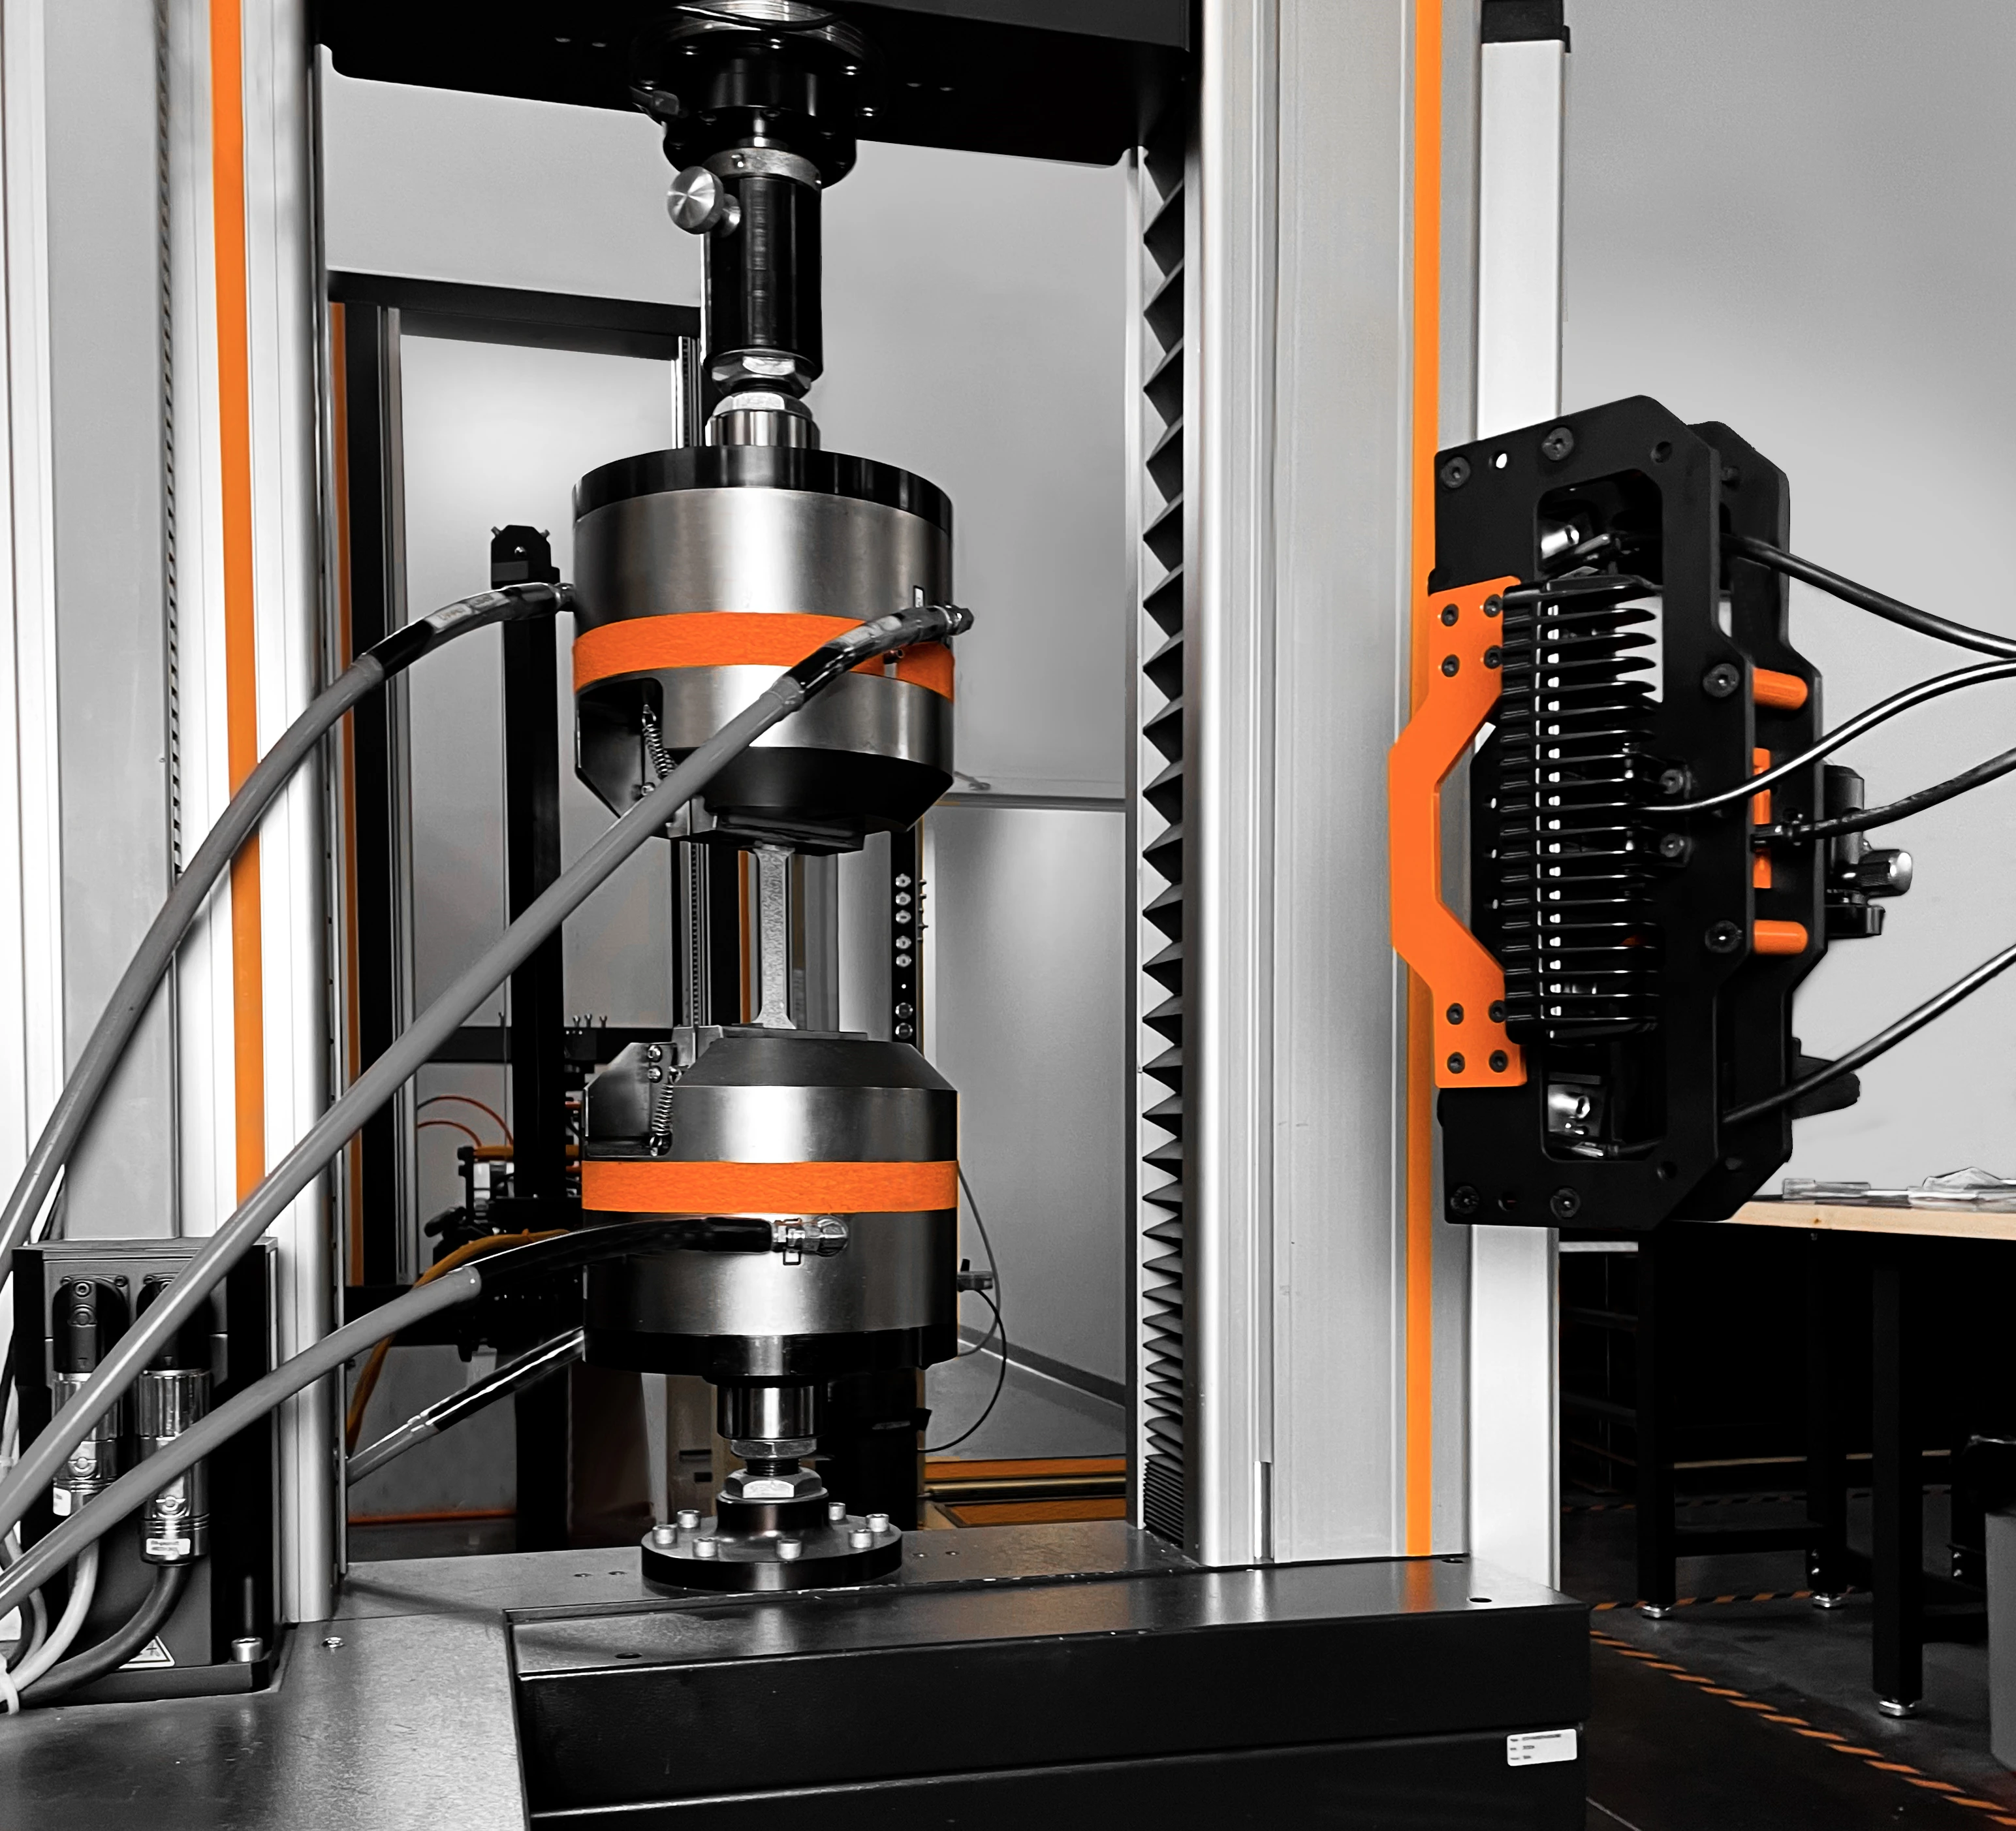
 Tension Testing setup with mi-Sensor
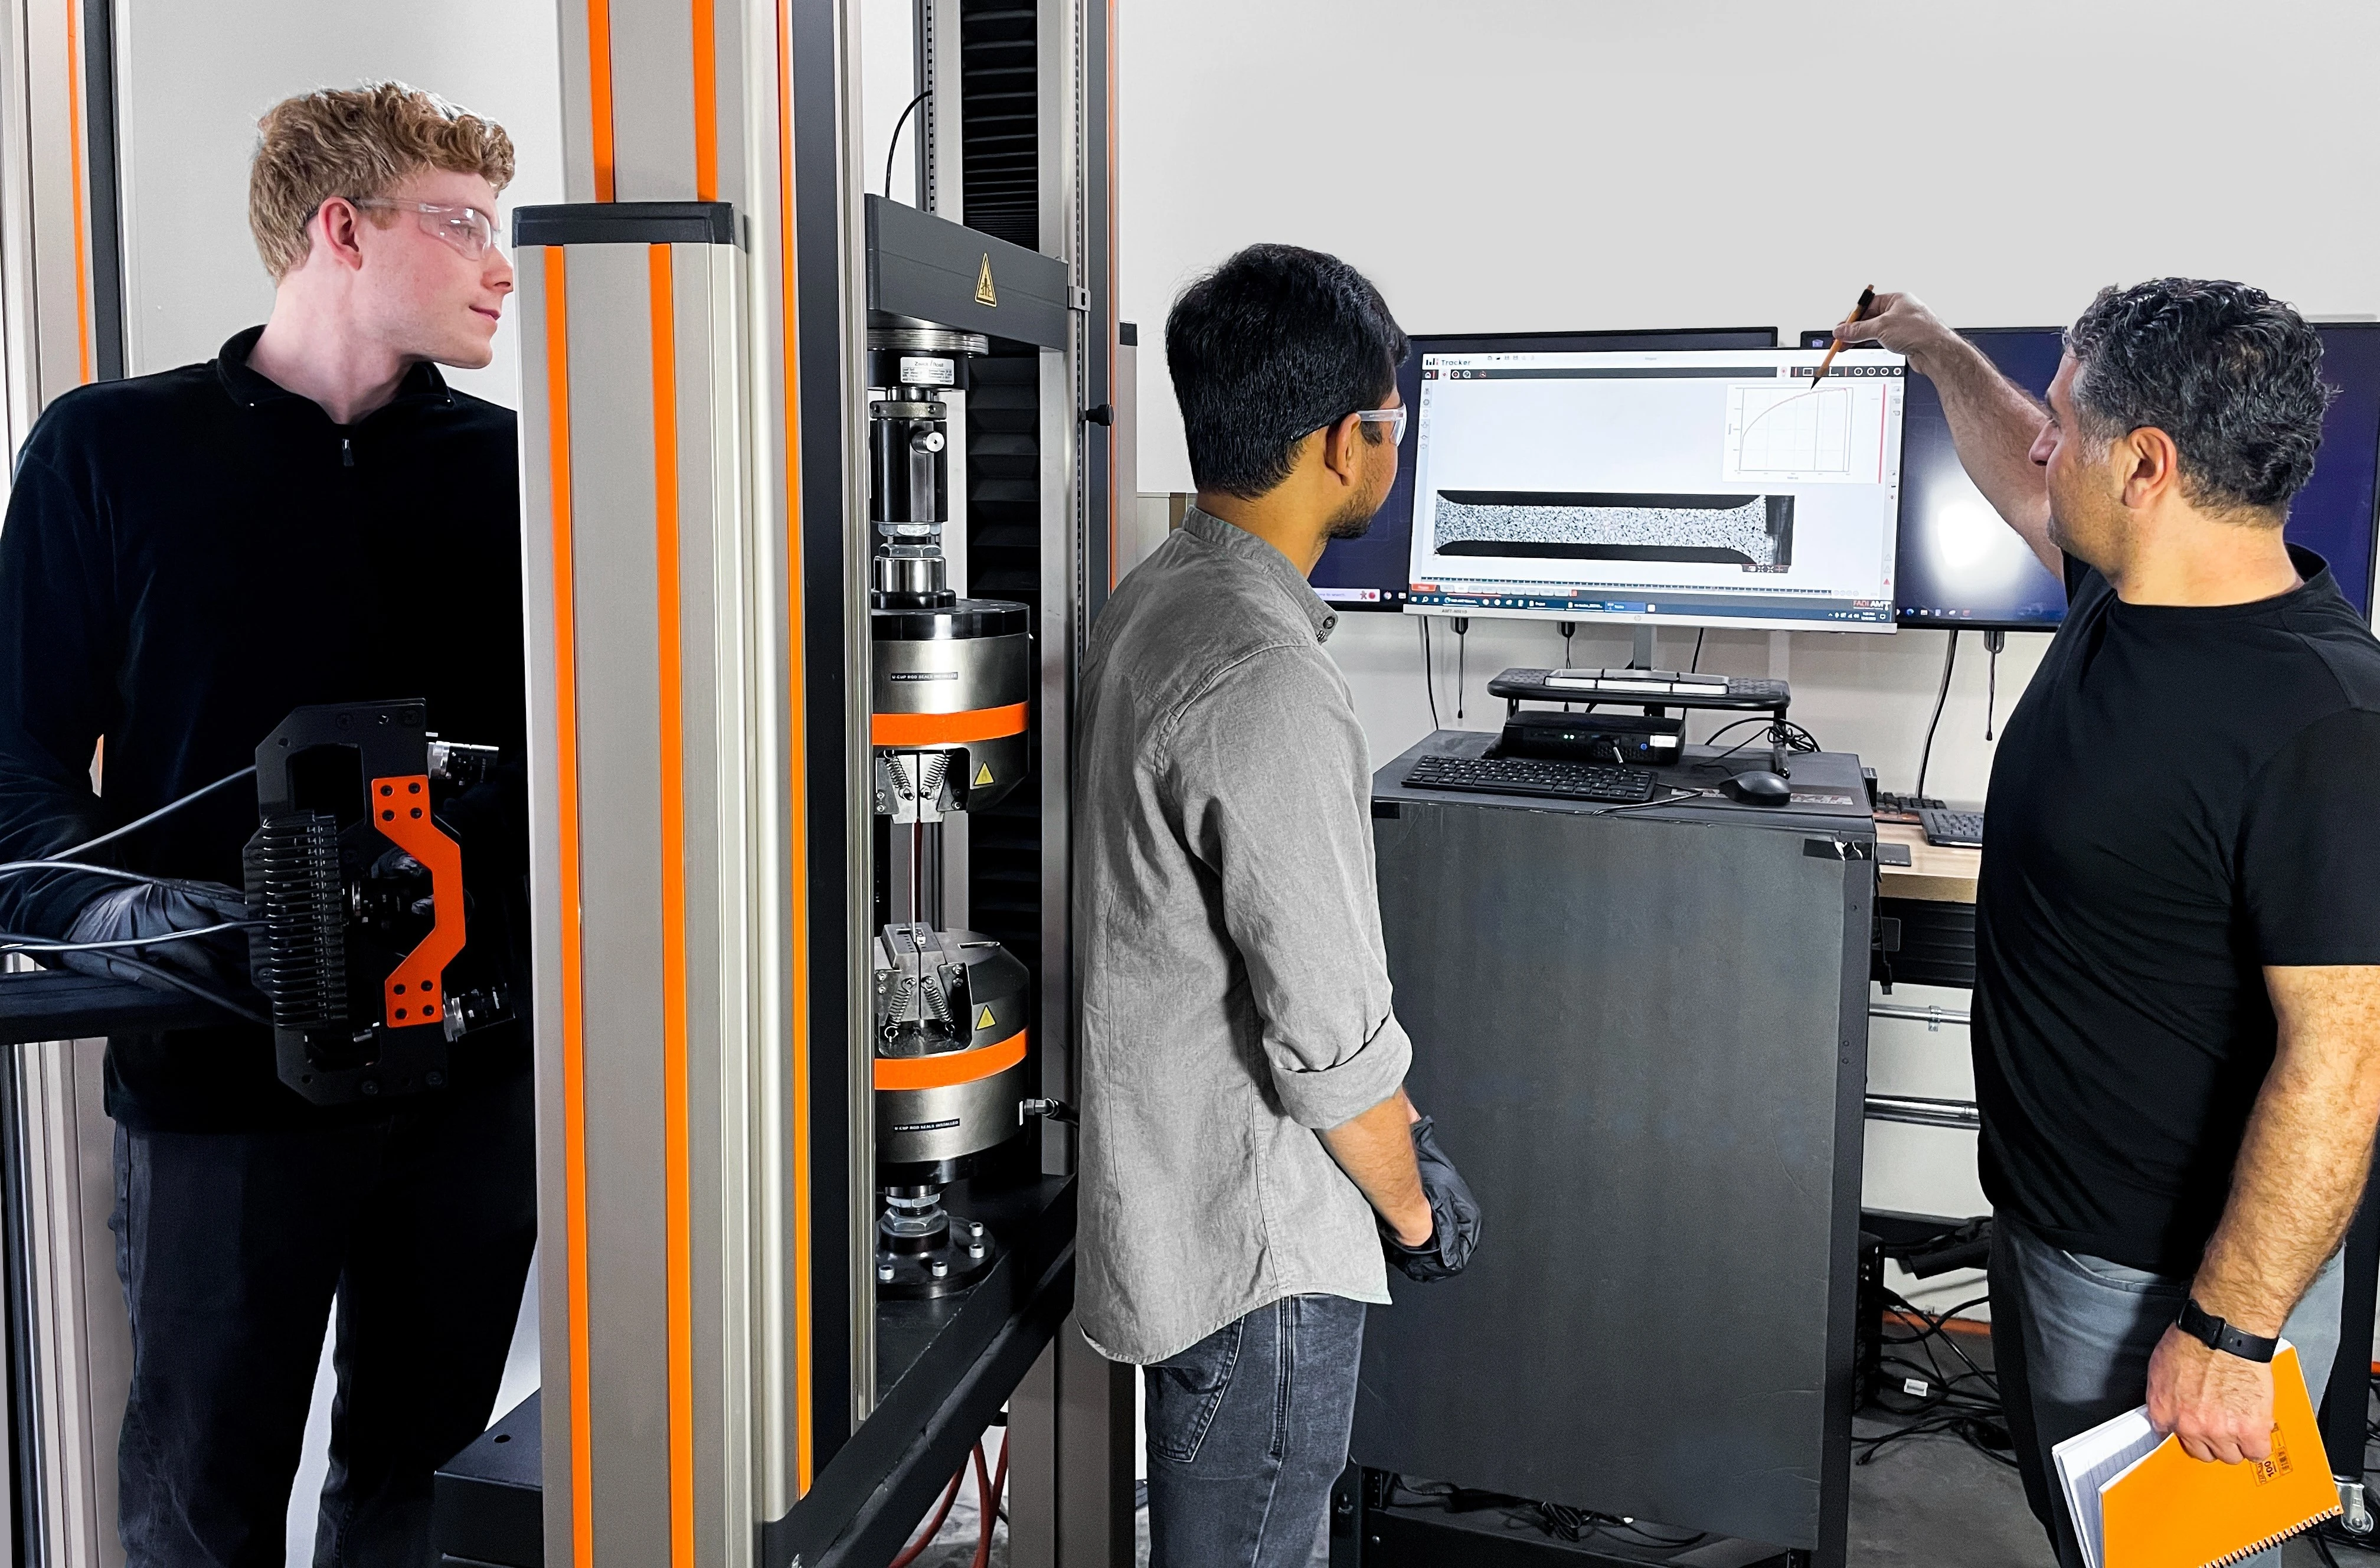
 Tension Testing setup with mi-Sensor & DATA analysis with mi-Tracker
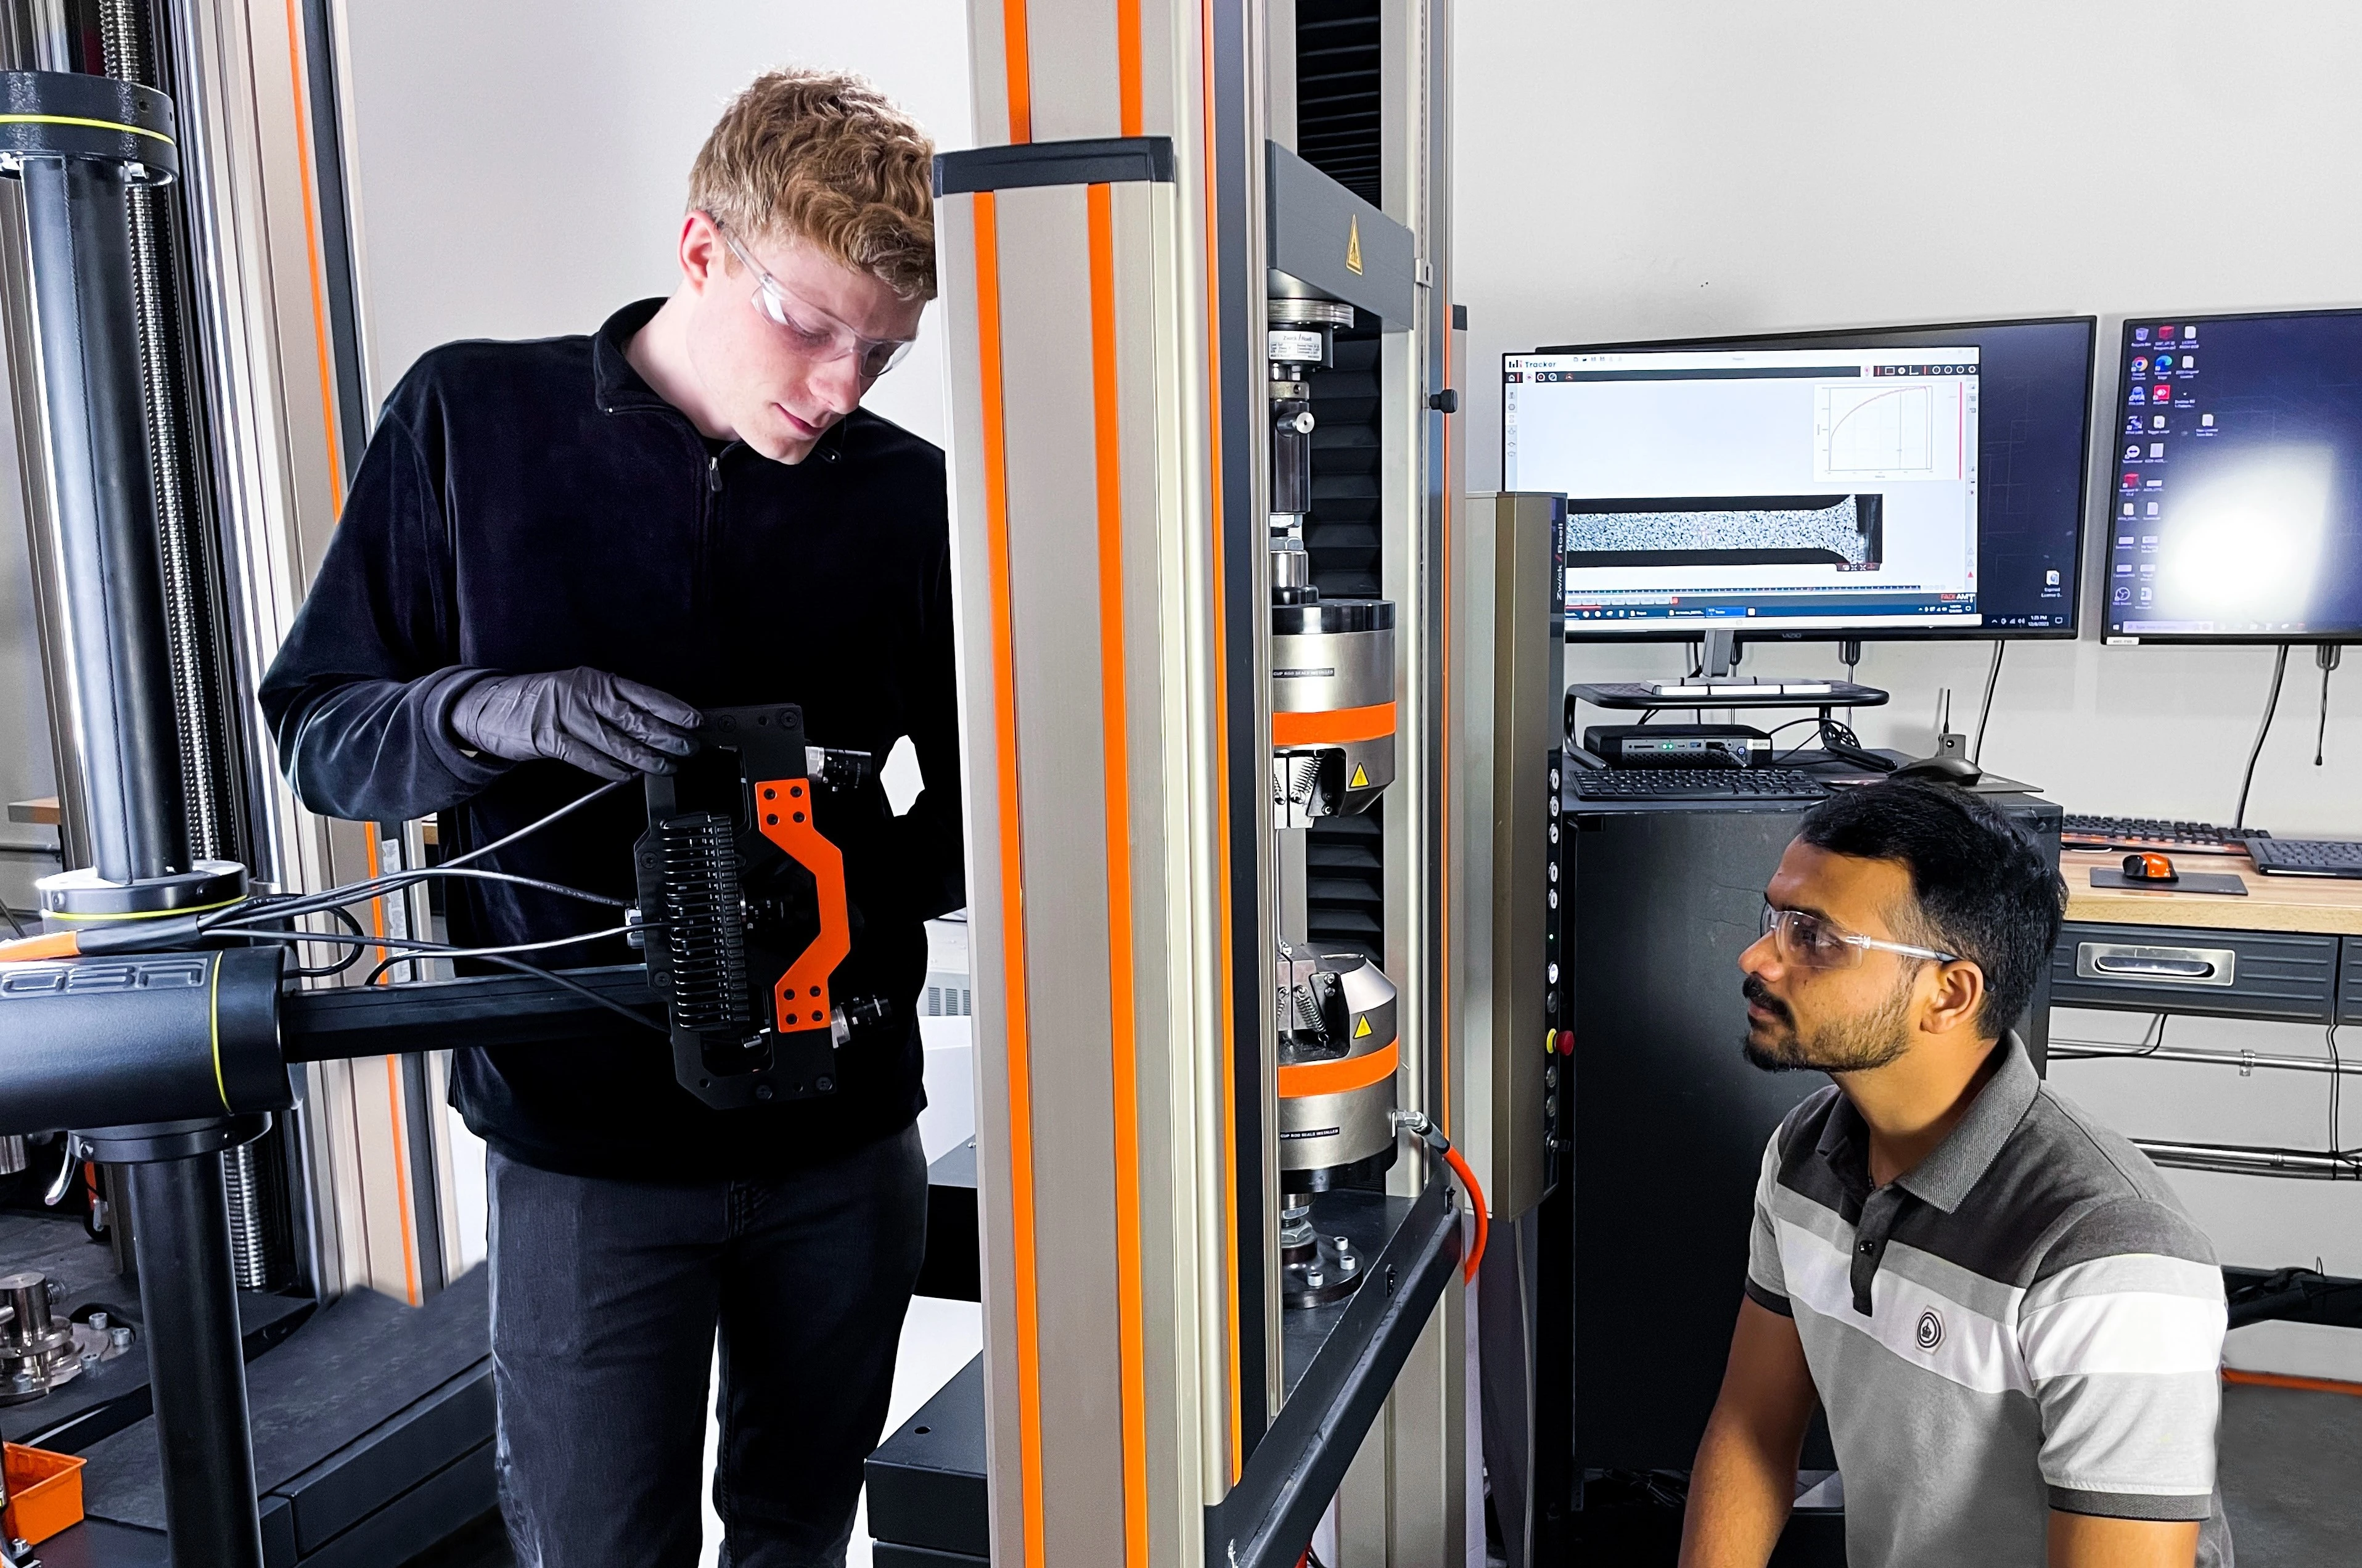
 Demonstrating UAT Testing Setup with our visitor
Tension Test Sample Geometry
The shape and size of a tension test sample are important for achieving a good test. Though tension tests can be performed on any object (using customized grips), raw materials are nearly always tested by cutting them into “Dogbone” samples. “Dogbone” refers to a long, narrow shape that gets wider at both ends. The middle portion (known as the “gage region”) is narrower to purposely make it more susceptible to failure, while the ends of the test piece are made wider so that they can be more easily gripped by the testing machine.
Dogbone samples can be cylindrical, but the most common ones are flat. There are many sizes for the dogbone samples used in tension testing (depending on the material, standard and application) but the most common standard size features a ~60x12mm gage region.

 Tension Testing
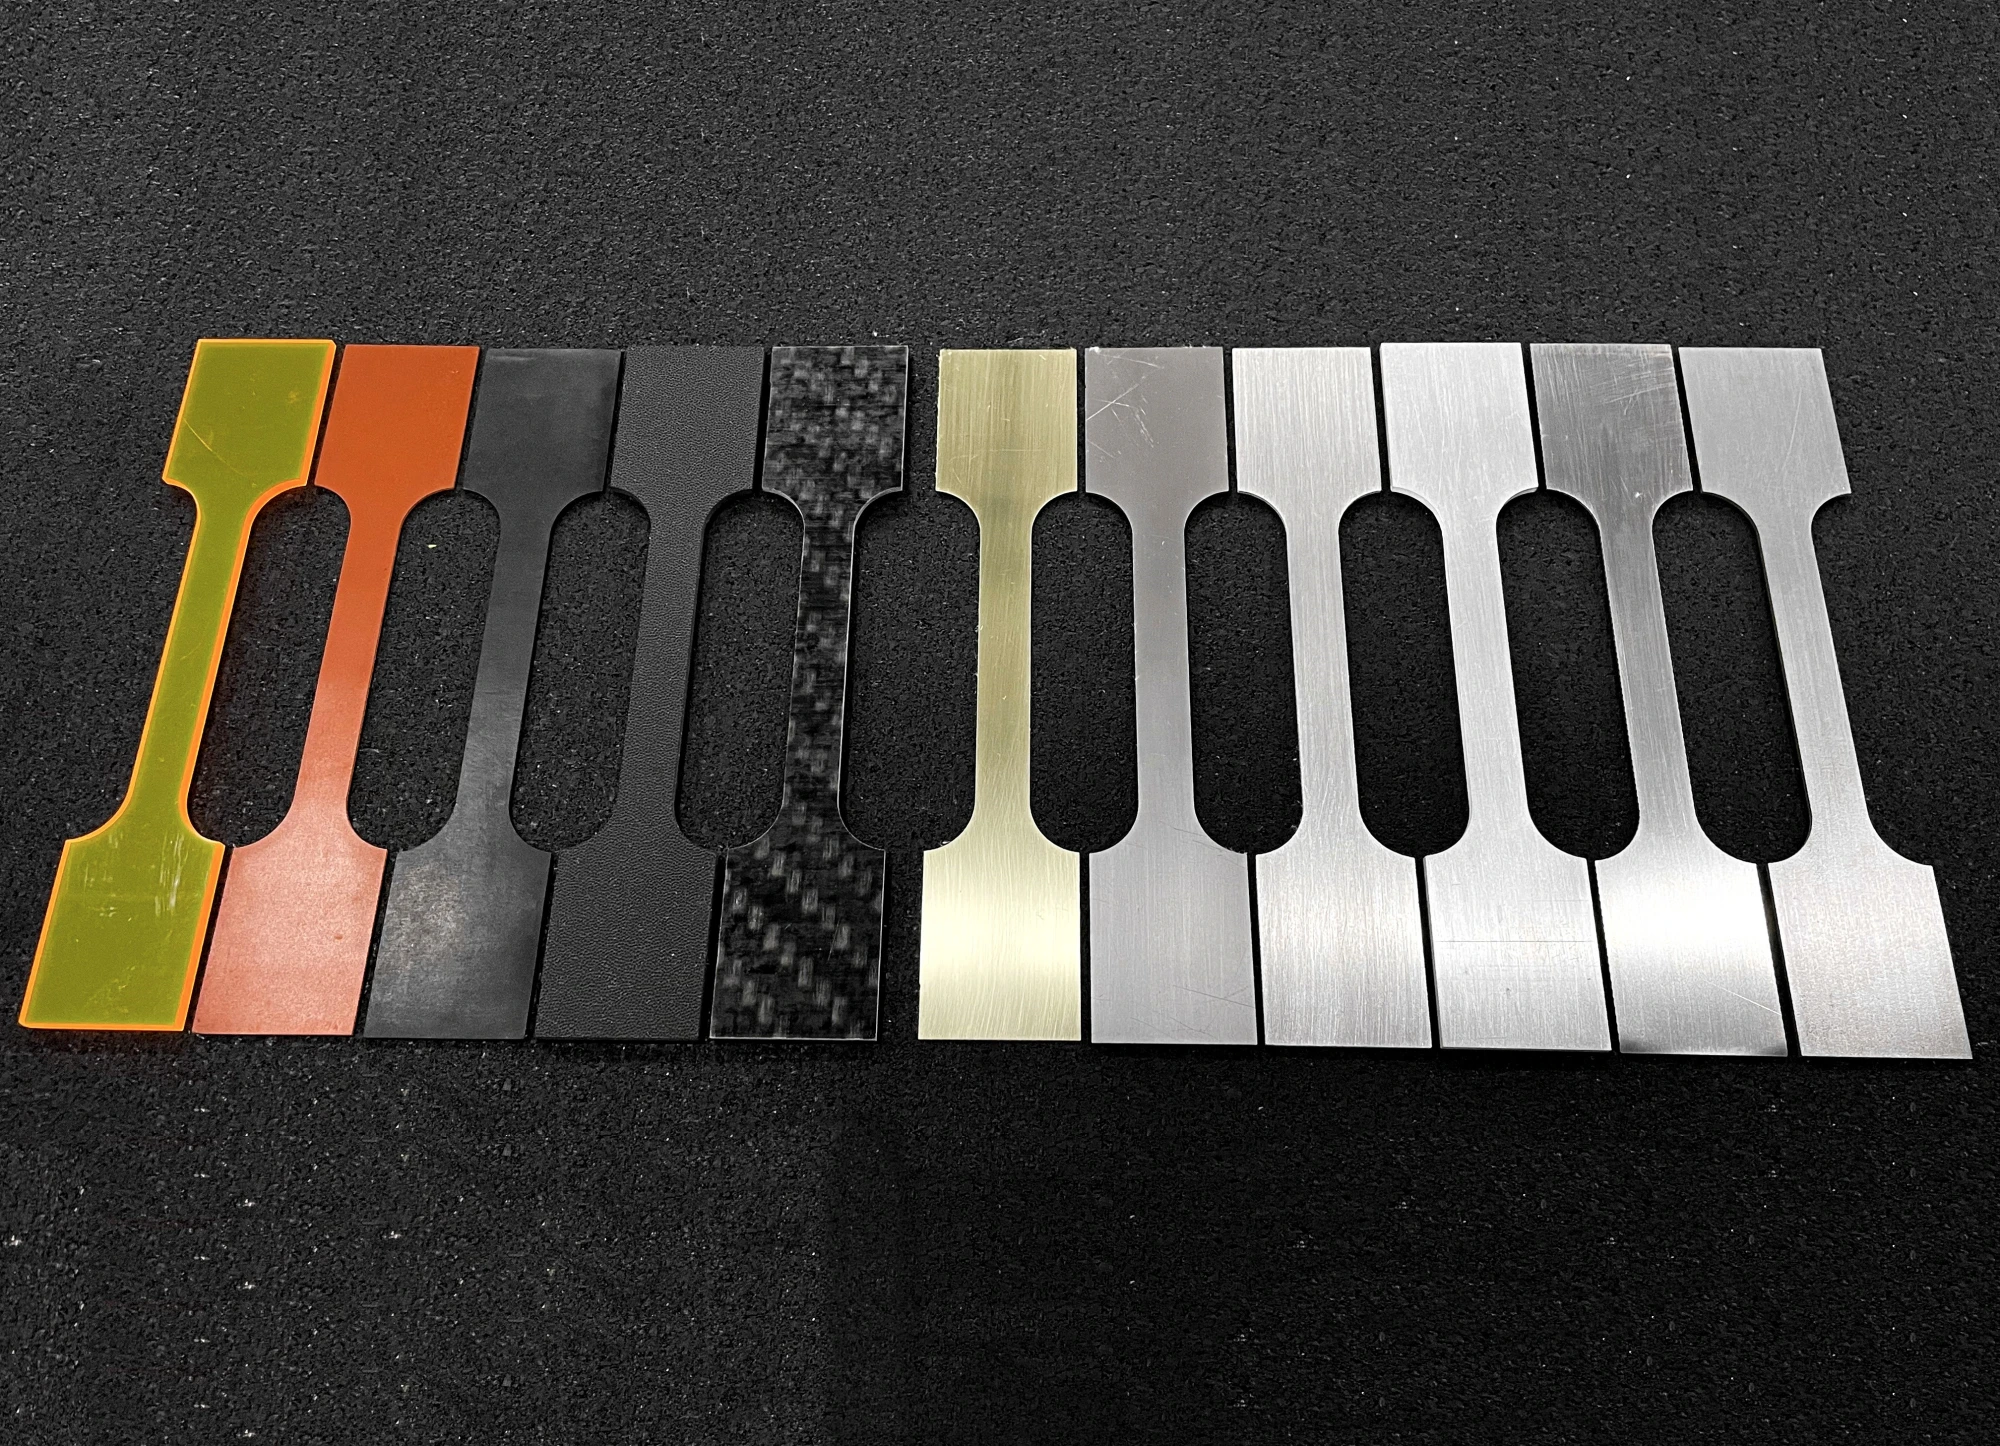
 Tension Testing Samples- Variety of Materials
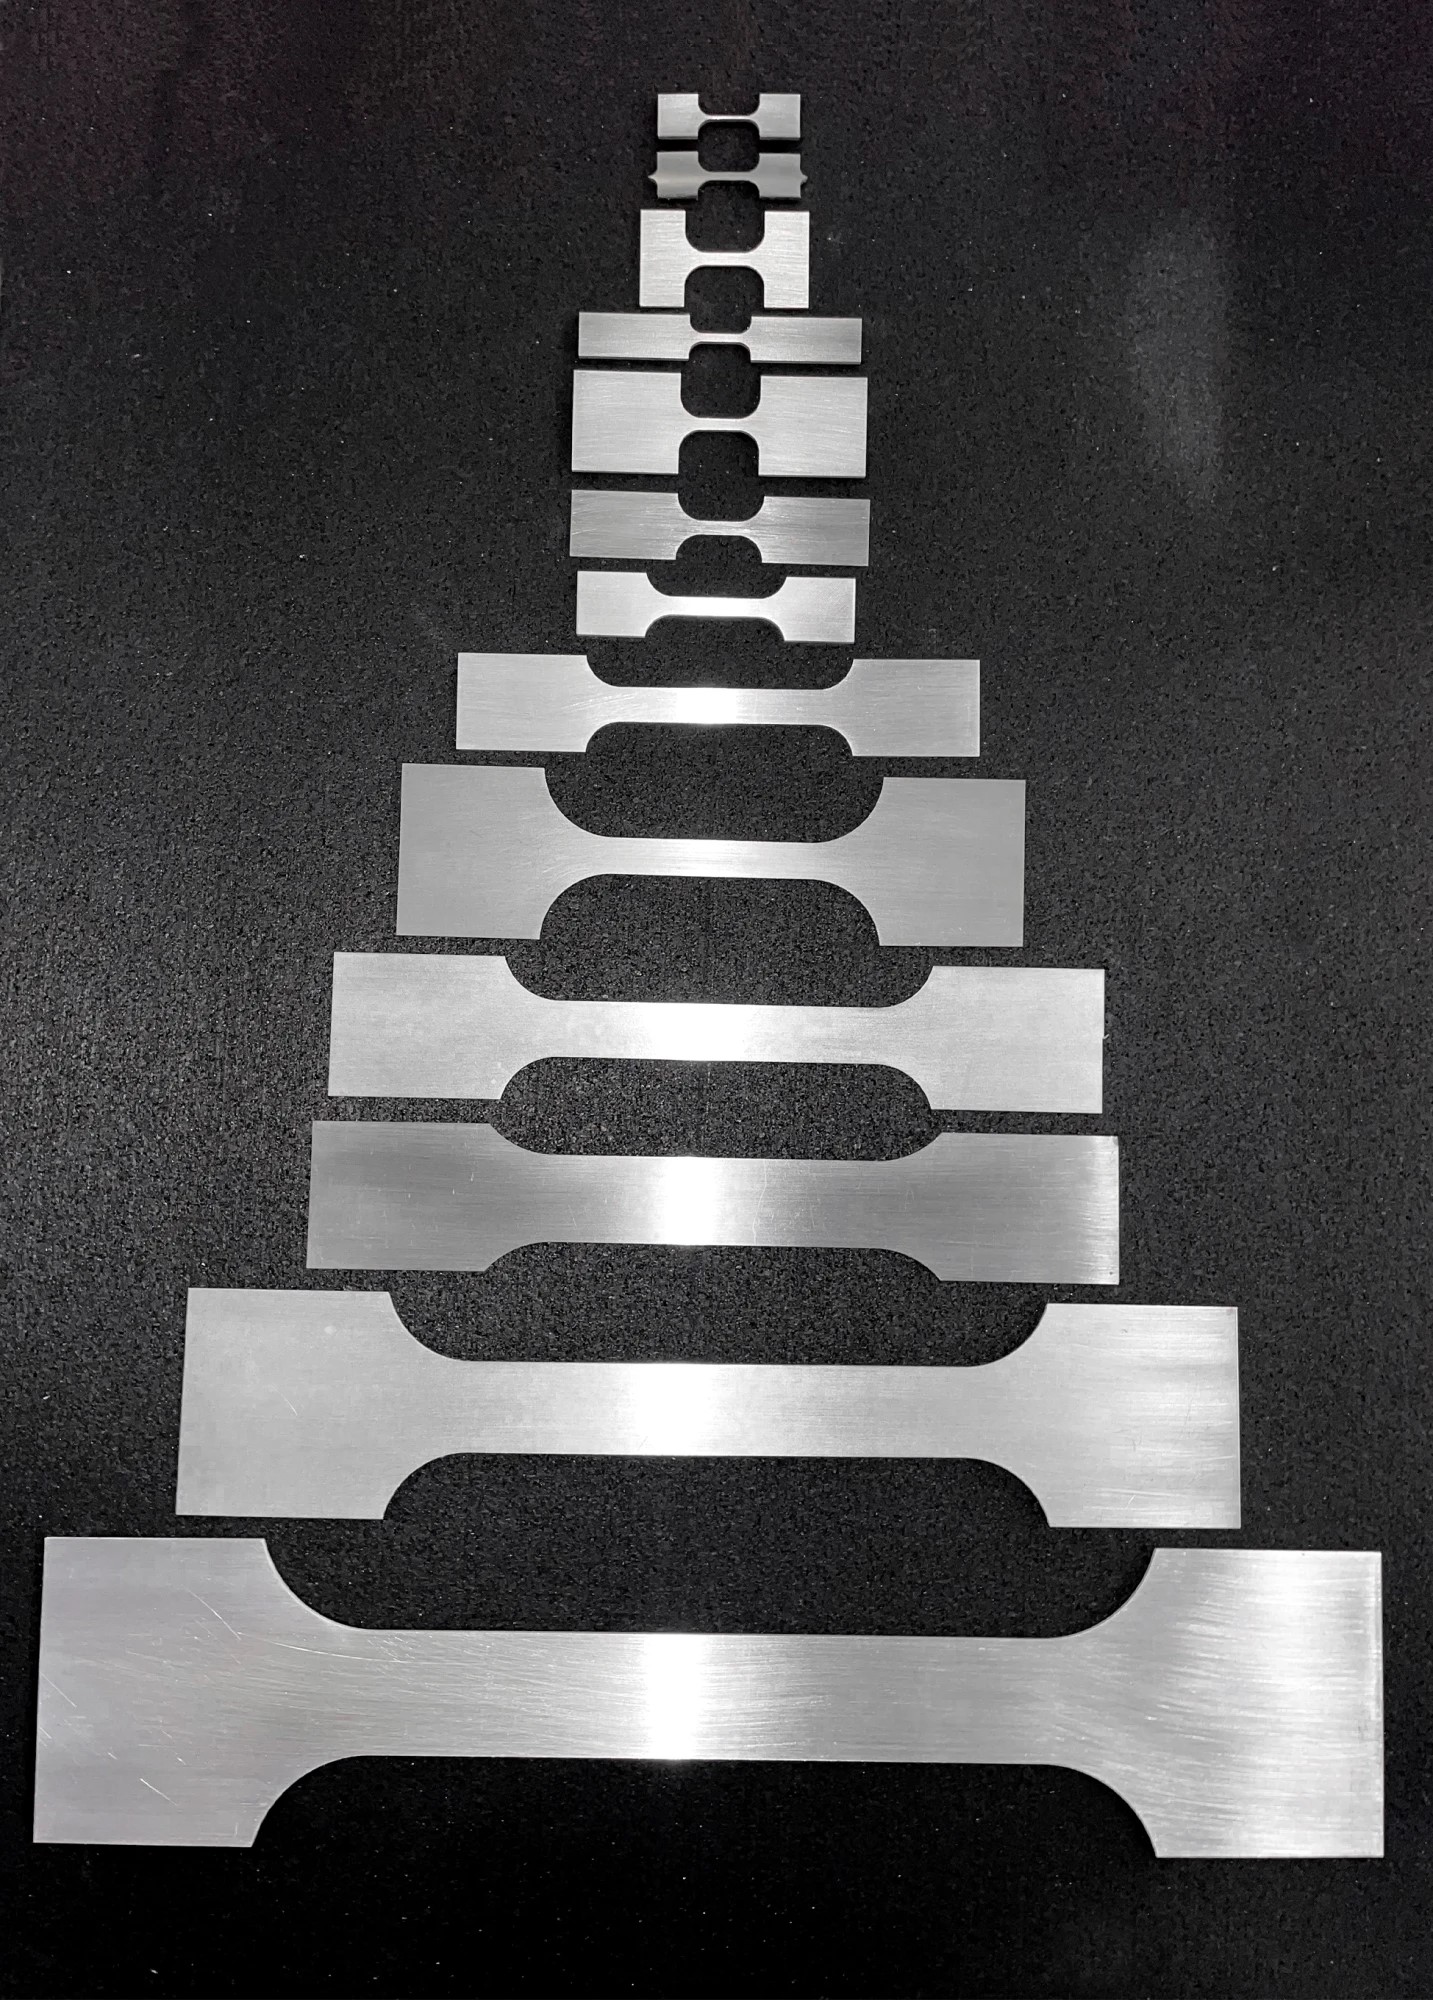
 Tension Testing Samples- Variety of Sizes
 Speckled Tension Sample_Before & After Testing
Tension Test Results
Tension testing is important to discover many important properties of a material. The keys to determining these properties lie in the sensors discussed above: the load cell and the extensometer. These sensors measure force and elongation, which can be easily used to derive the stress and strain values at every instance during the test.
Stress = Force/Cross-Sectional Area
Strain = Elongation/Original Length
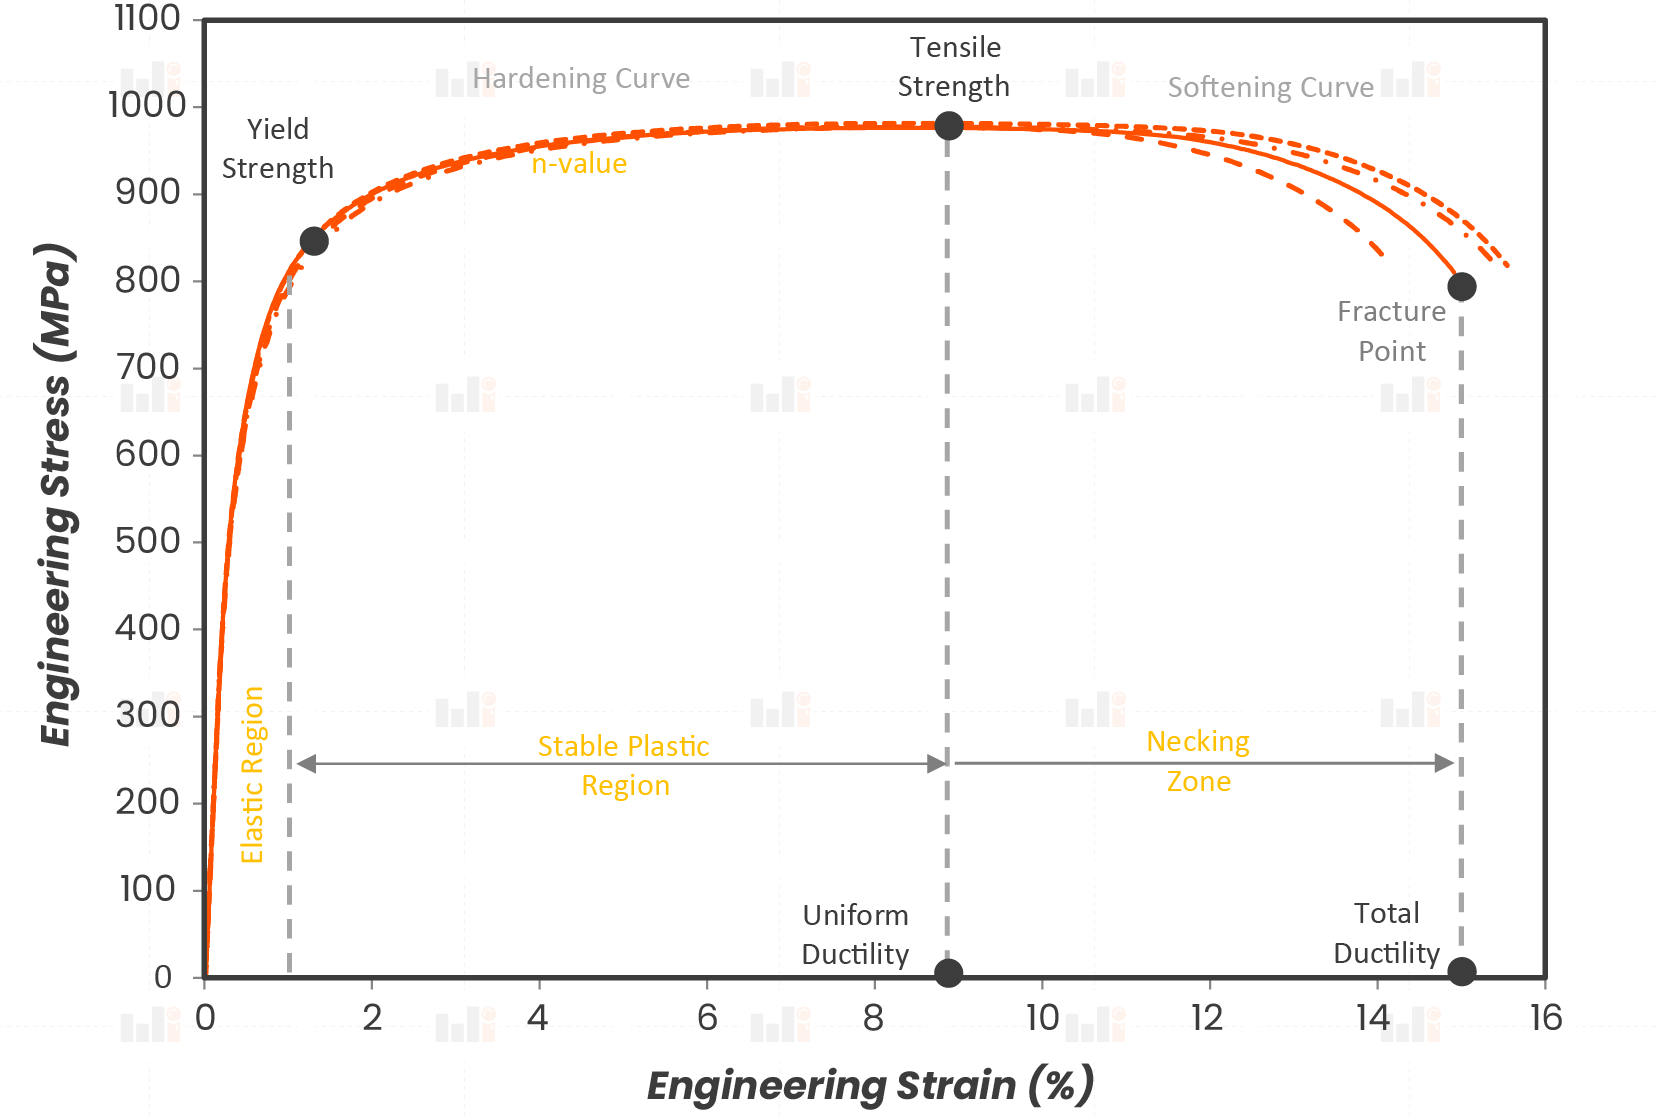
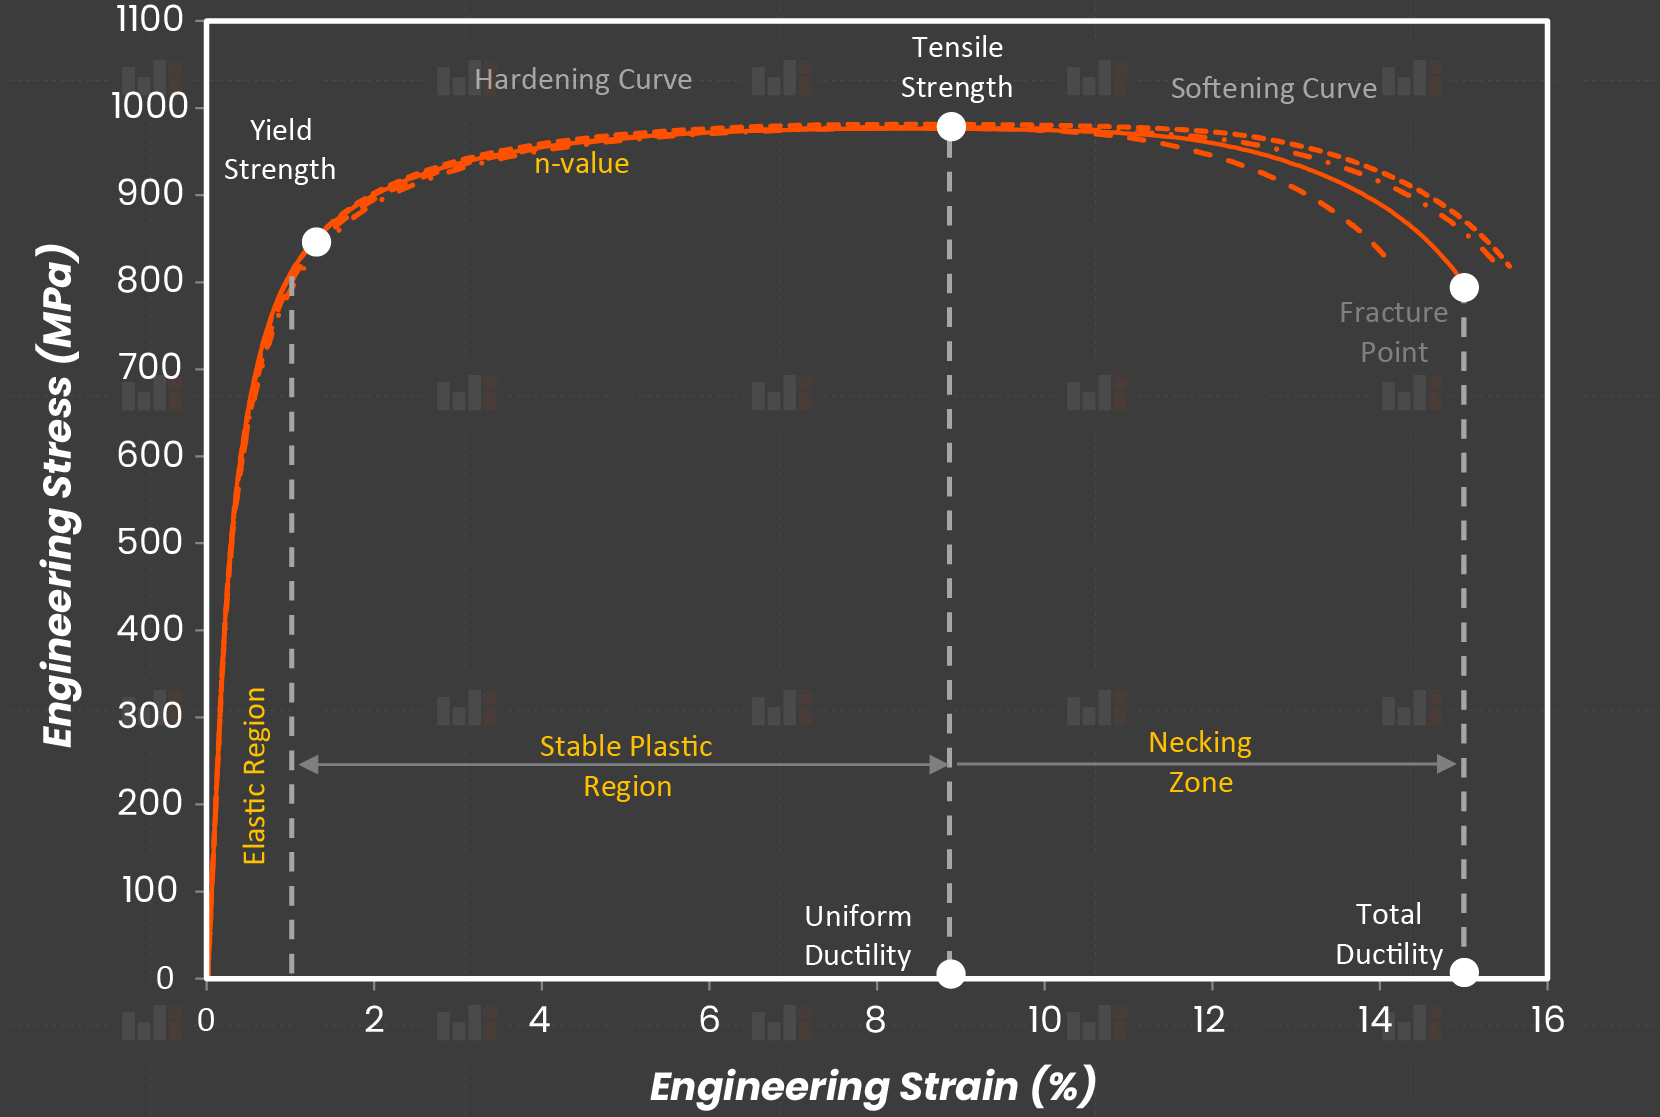
These stress and strain values are plotted against each other to derive a diagram called a “Stress-Strain Curve”. This curve is of vital importance for understanding and predicting material behavior. A simple glance at a material’s stress-strain curve will tell you much about the material; below is a list of relevant properties which can be determined using the stress-strain curve:
 Tension Testing
Elastic Modulus: Also known as the Young’s Modulus, this is a measure of how much force/stress is required to produce a certain deformation/strain in the material. As its name implies, the Elastic Modulus primarily describes the region of elastic deformation, where the relationship between stress and strain is roughly linear; the Elastic Modulus is equal to the slope of the stress-strain curve in this linear region.
Yield Strength: When the applied stress reaches a certain point, the material can no longer deform without stretching permanently. In technical terms, this point is the transition between the region of elastic deformation and the region of plastic deformation. The stress at this transition point is known as the yield strength.
Ultimate Tensile Strength: Even as the material begins to deform plastically, the stress usually continues to increase. Eventually, as the specimen stretches, the reduction in the cross-sectional area begins to take over, a phenomenon known as necking. When necking occurs, the material has experienced the maximum stress it can withstand before fracturing; this maximum is called the ultimate tensile strength of the material.
Uniform Elongation (Uniform Ductility): The elongation a material experiences up to the point of ultimate tensile strength, before any sign of necking, can be important for some design applications; this is called the uniform ductility of the material.
Total Elongation (Total Ductility): The total elongation accumulated until the point of failure is the most universally accepted measure of material’s ductility, and a very useful property.
Strain Hardening Exponent (n-value): the stress/strain curve is always “hardening” within the stable plastic region; meaning, the material becomes stronger as a result of progressive stretching. The curve is not linear here, but it is relatively linear if plotted in the logarithmic scale; the slope of that line is known as the hardening exponent (n-value). The higher the n-value of a material, the greater its ability to stretch before developing any sign of necking.
An example of the mechanical properties extracted for a grade of steel that is commonly used in automotive body structures is given in this summary table.

 Tension Testing
Tension Testing Standards
Because tensile testing is so popular and so useful, many engineering standards have been created to maintain a measure of consistency and repeatability between different test labs across the globe. For tension testing of metals, the standards ISO 6892 and ASTM E8 are the most ubiquitous. These standards give precise guidance on testing machine specifications, sample geometry, test parameters and reporting results.

