Fundamentals of Balanced Biaxial Tension (BBT) Testing _ Hydraulic Bulge (HBG)
In material testing, the first methods that come to mind are often mechanical methods. Uniaxial tension testing, for example, involves gripping a test sample at both ends and pulling it apart until failure. FLC testing, another common procedure, usually involves deforming a metal sheet with a mechanical punch. These methods both use contact between solid surfaces (the test sample and the testing machine) to deform the material. However, much useful testing data can be gleaned by using another family of methods that use fluid pressure to create material deformation. These methods are collectively known as hydrostatic bulge testing. This article will explore many useful aspects of bulge testing, including theory, equipment, methods, results, and testing standards.
 Fundamentals of Bulge Testing
Relevance: Why Bulge Testing?
Fluid pressure is a vital component to many real-world systems, including any machine that moves using hydraulic or pneumatic piston systems. These include virtually all engines, as well as many types of heavy machinery and power generating systems. Additionally, many buildings and other structures include systems specifically designed to transport fluids from one place to another. Plumbing and air conditioning systems fall into this category.
Even putting aside its correspondence to real-world conditions, hydrostatic bulge testing can also reveal material properties that are useful even in cases where the expected loading is mechanical. One important case is the “balanced biaxial tension test” for sheet metals. While this test can be performed using the formability testing approach (just like FLC testing), it has two major limitations: 1) it is not possible to convert punch load measurements into stresses! 2) frictional forces could be very high to the point of affecting the outcome of the test. These two major issues can be resolved by hydrostatic bulge testing, which can produce “biaxial stress/strain curves” in a friction-free fashion.
Bulge Testing Equipment and Methods
The fundamental principle of bulge testing is as follows: clamp a sheet of material in place, then increase the pressure on one side of the sheet, causing it to bulge outward until fracture. This feature is common to all bulge testing methods and setups. The equipment used can vary depending on the material being tested and the specific data desired.
One of the most important considerations is the choice of bulging fluid. Both hydraulic and pneumatic systems have certain advantages.
Pneumatic bulge setups are clean and easy to test with. They can be used to quickly perform many tests, as the system can be reset simply by drawing in air from the surroundings. However, the compressibility of air can cause problems and lead to great shock wave, especially for thicker and stronger materials. Because of this, pneumatic testing is mostly suitable for testing thin and soft materials such as foils.
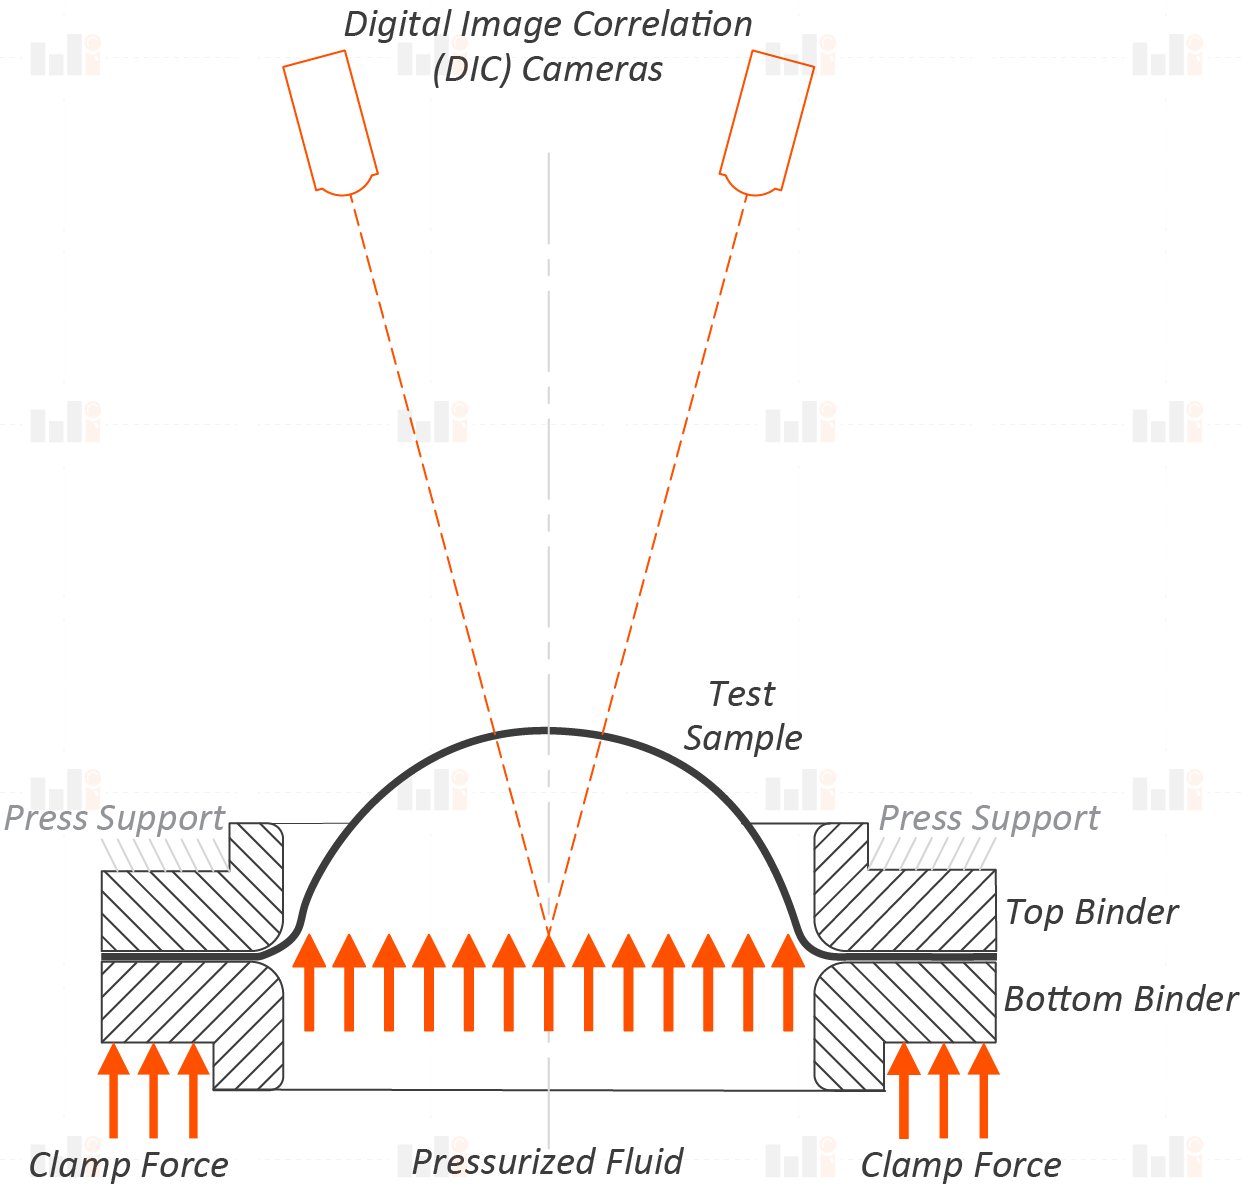
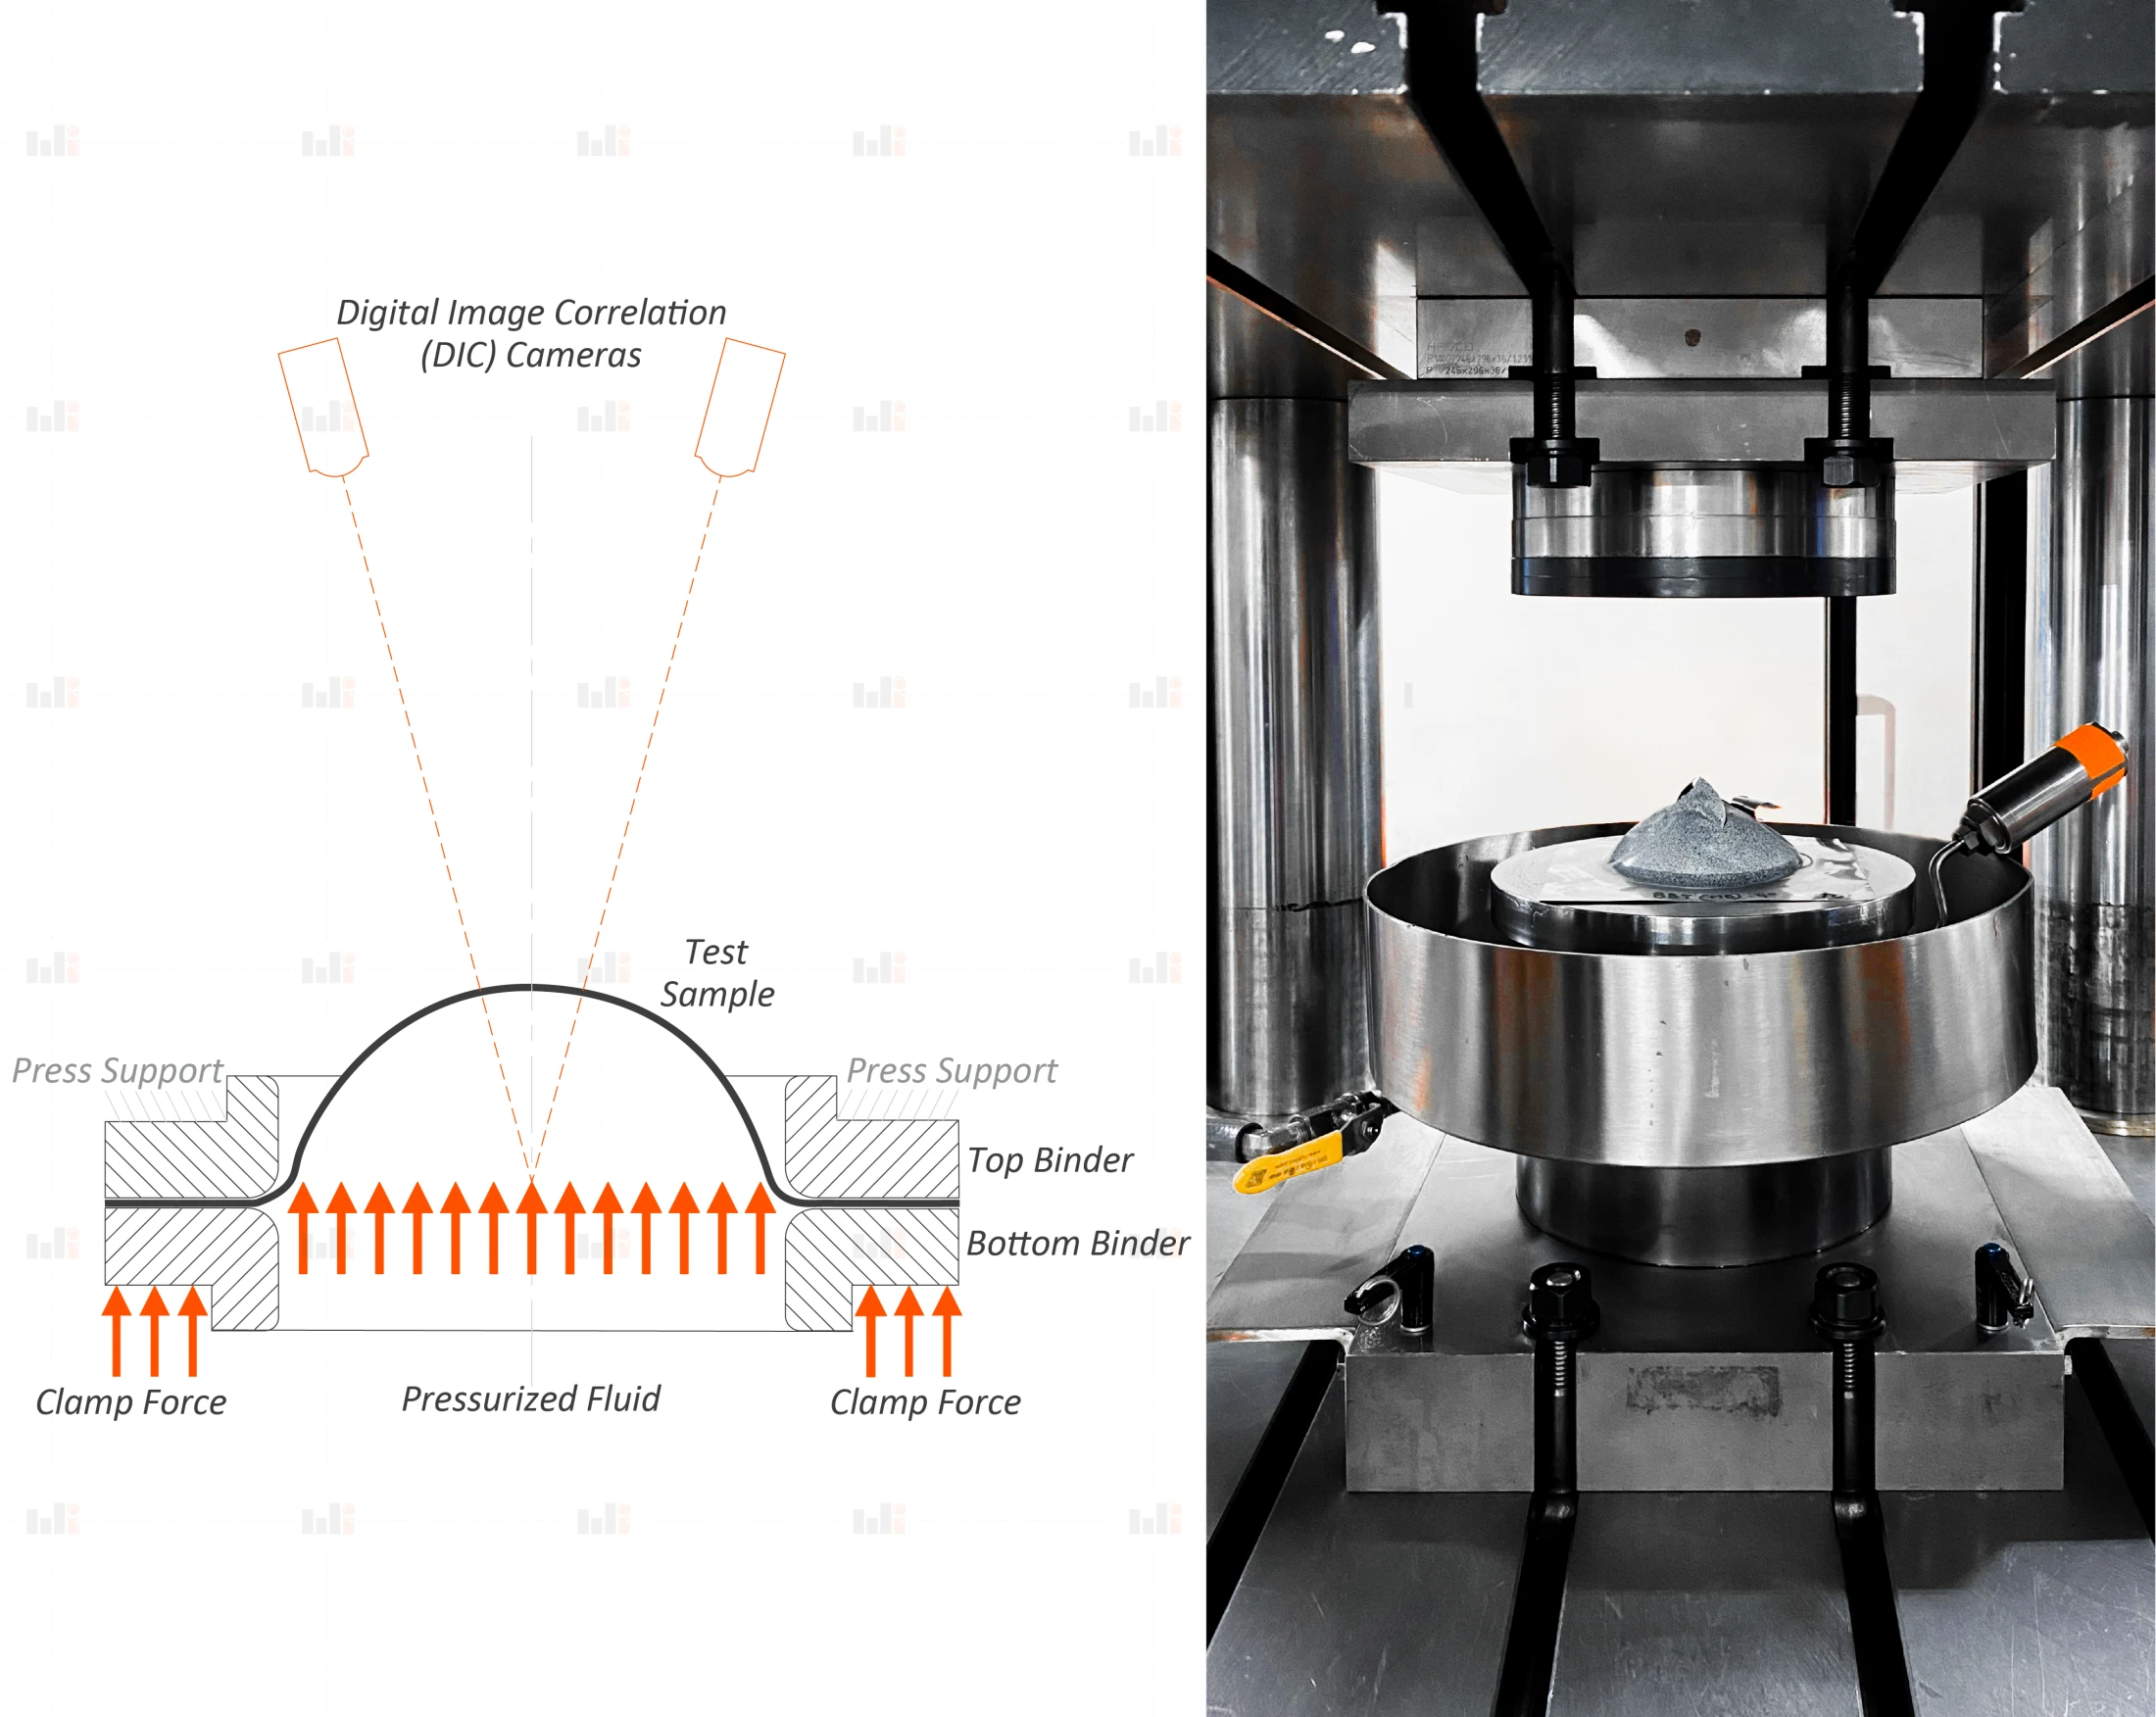
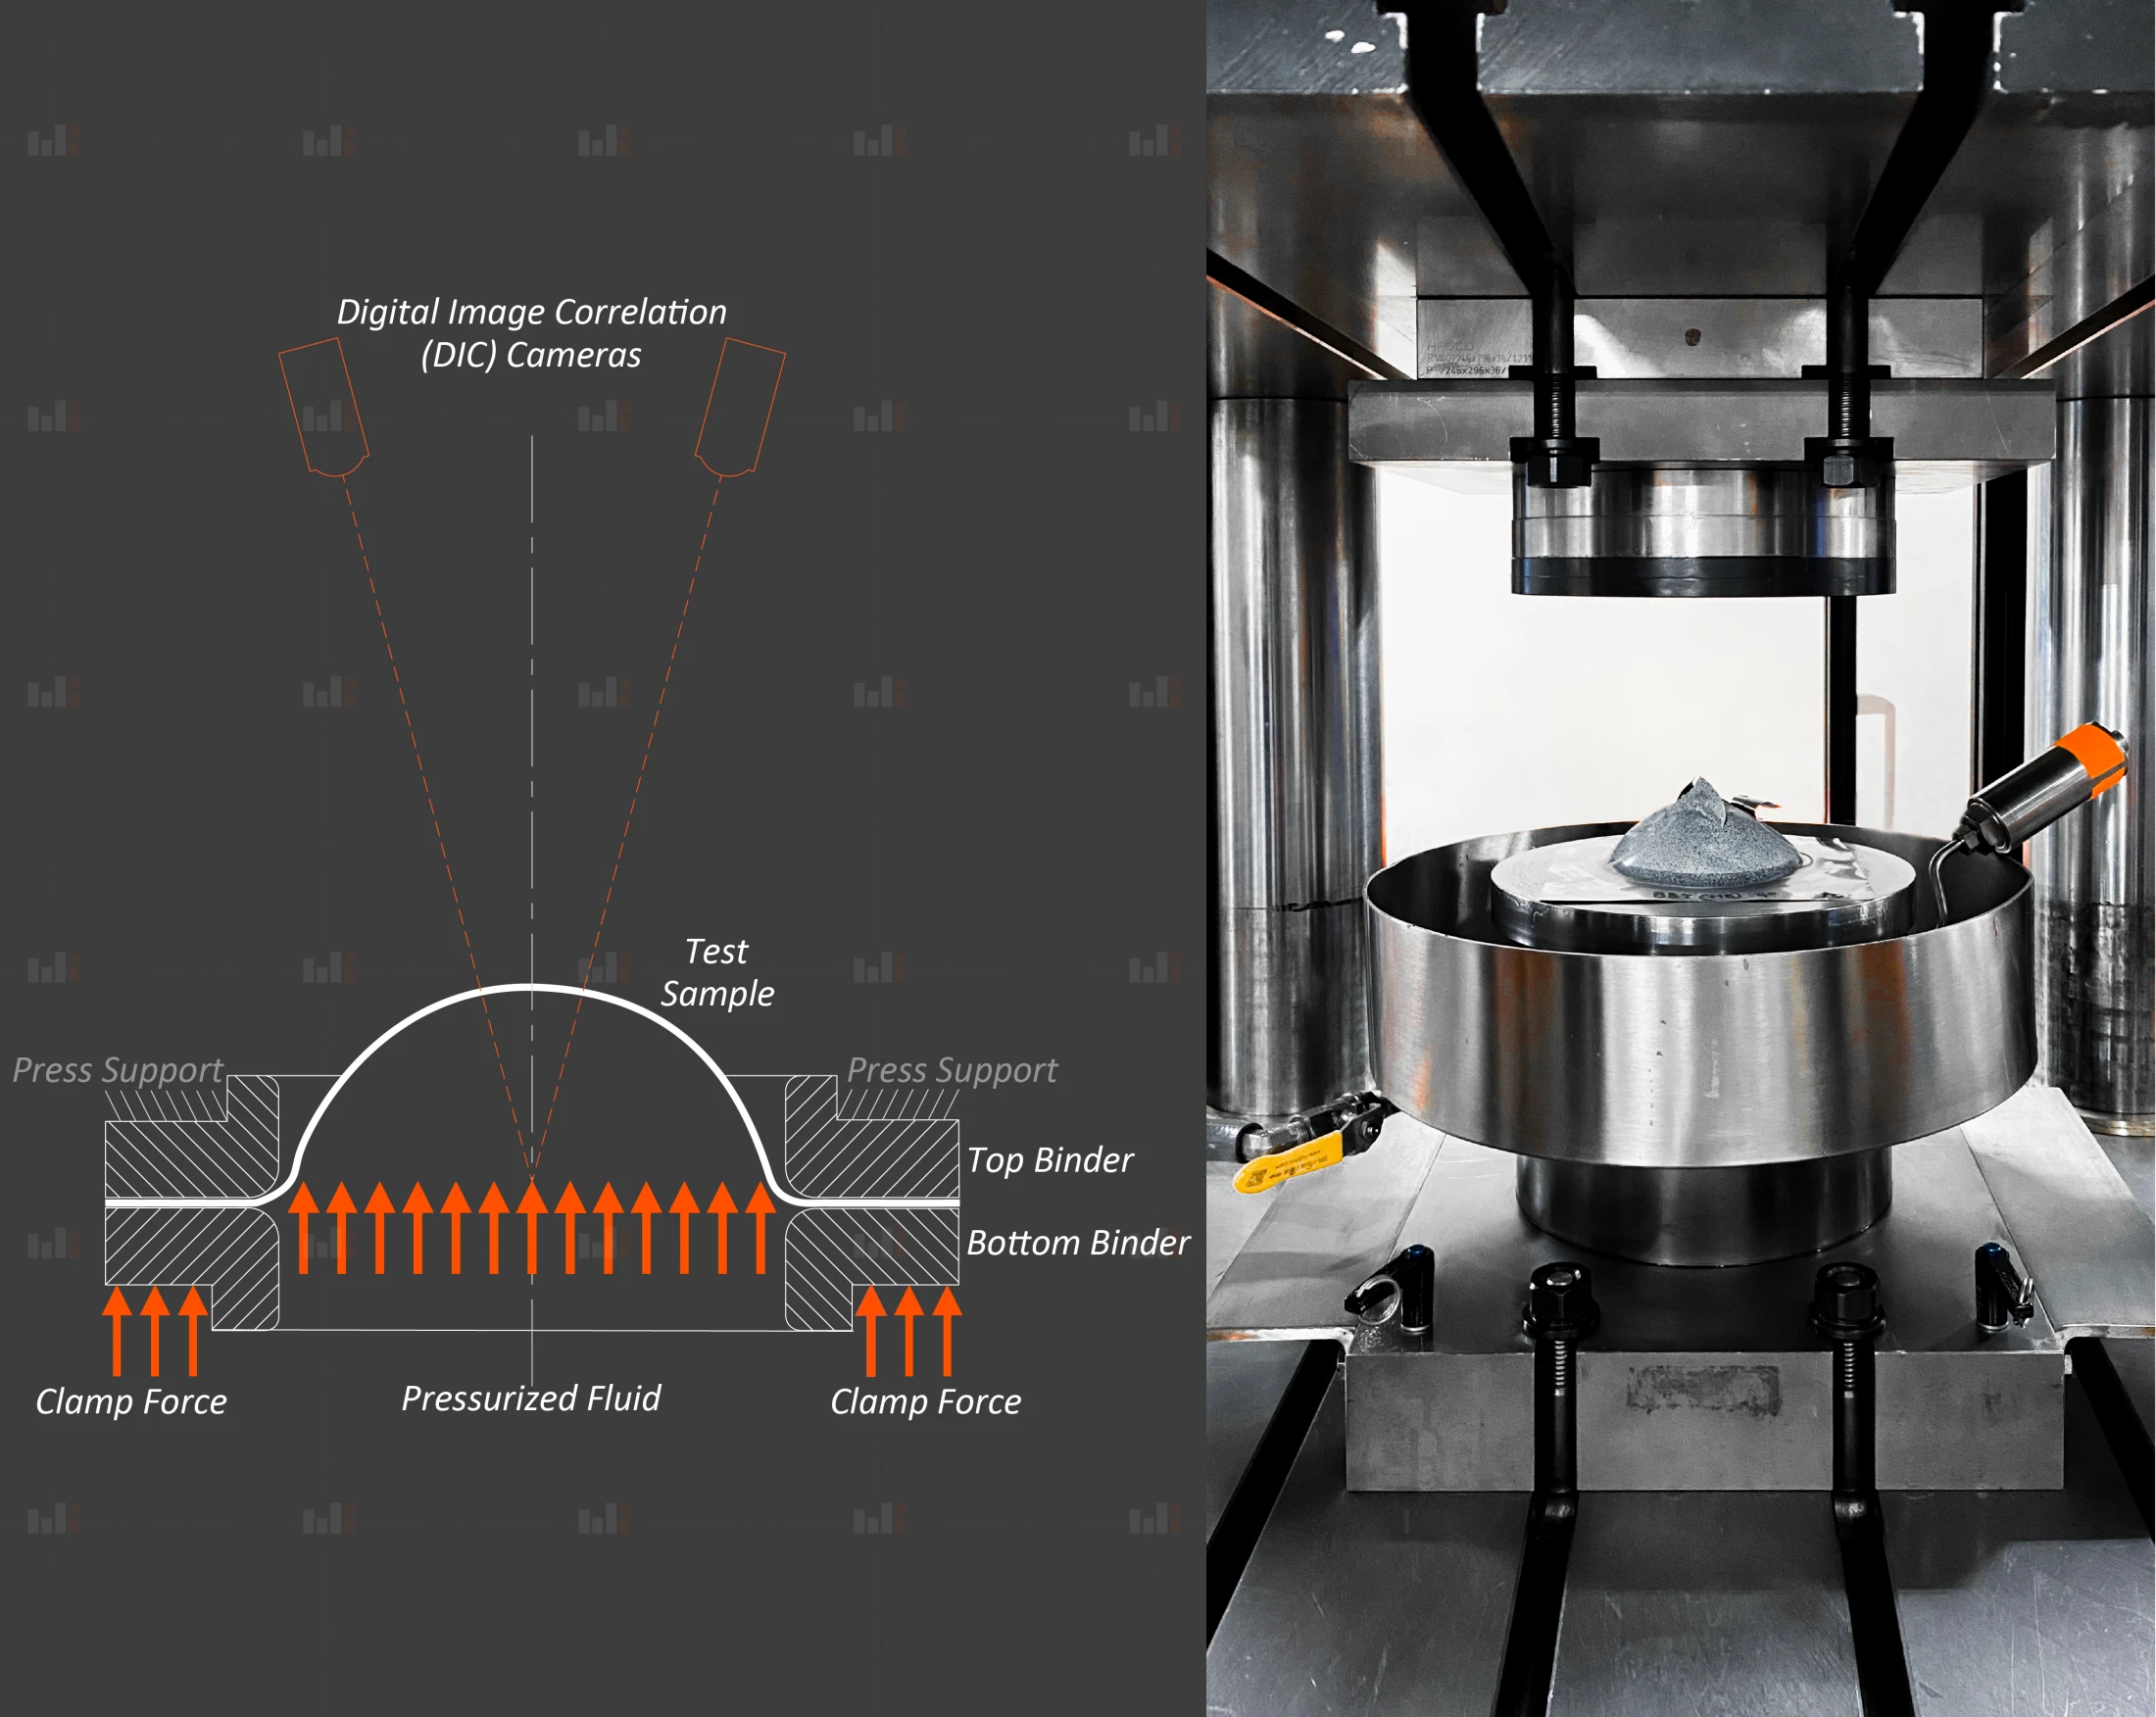
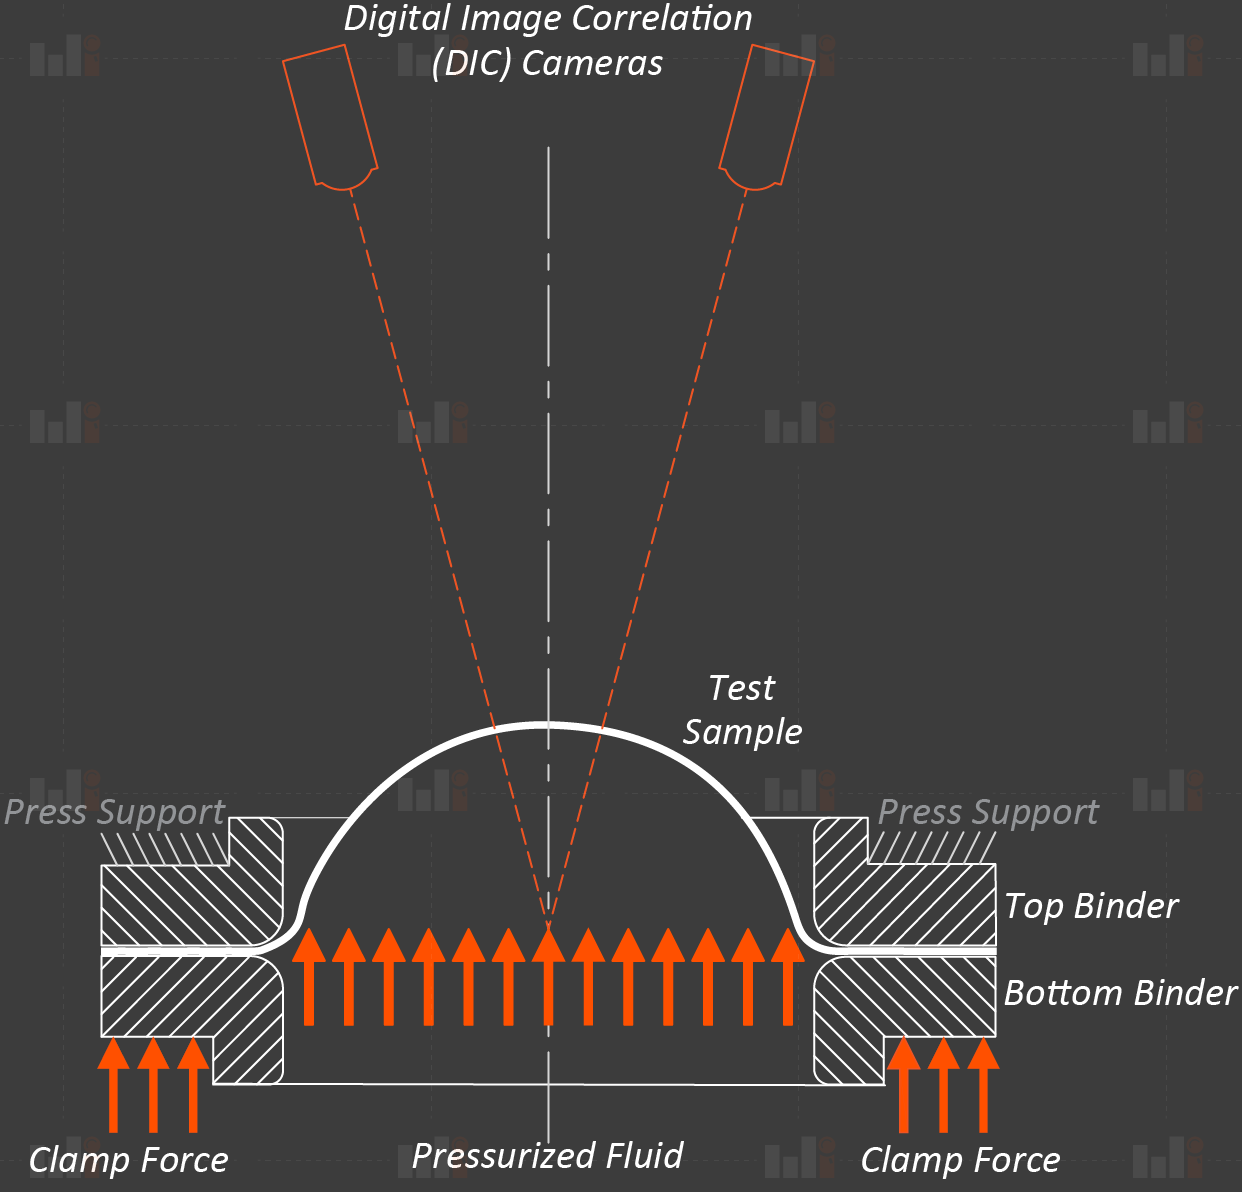 Bulge Testing Schematic
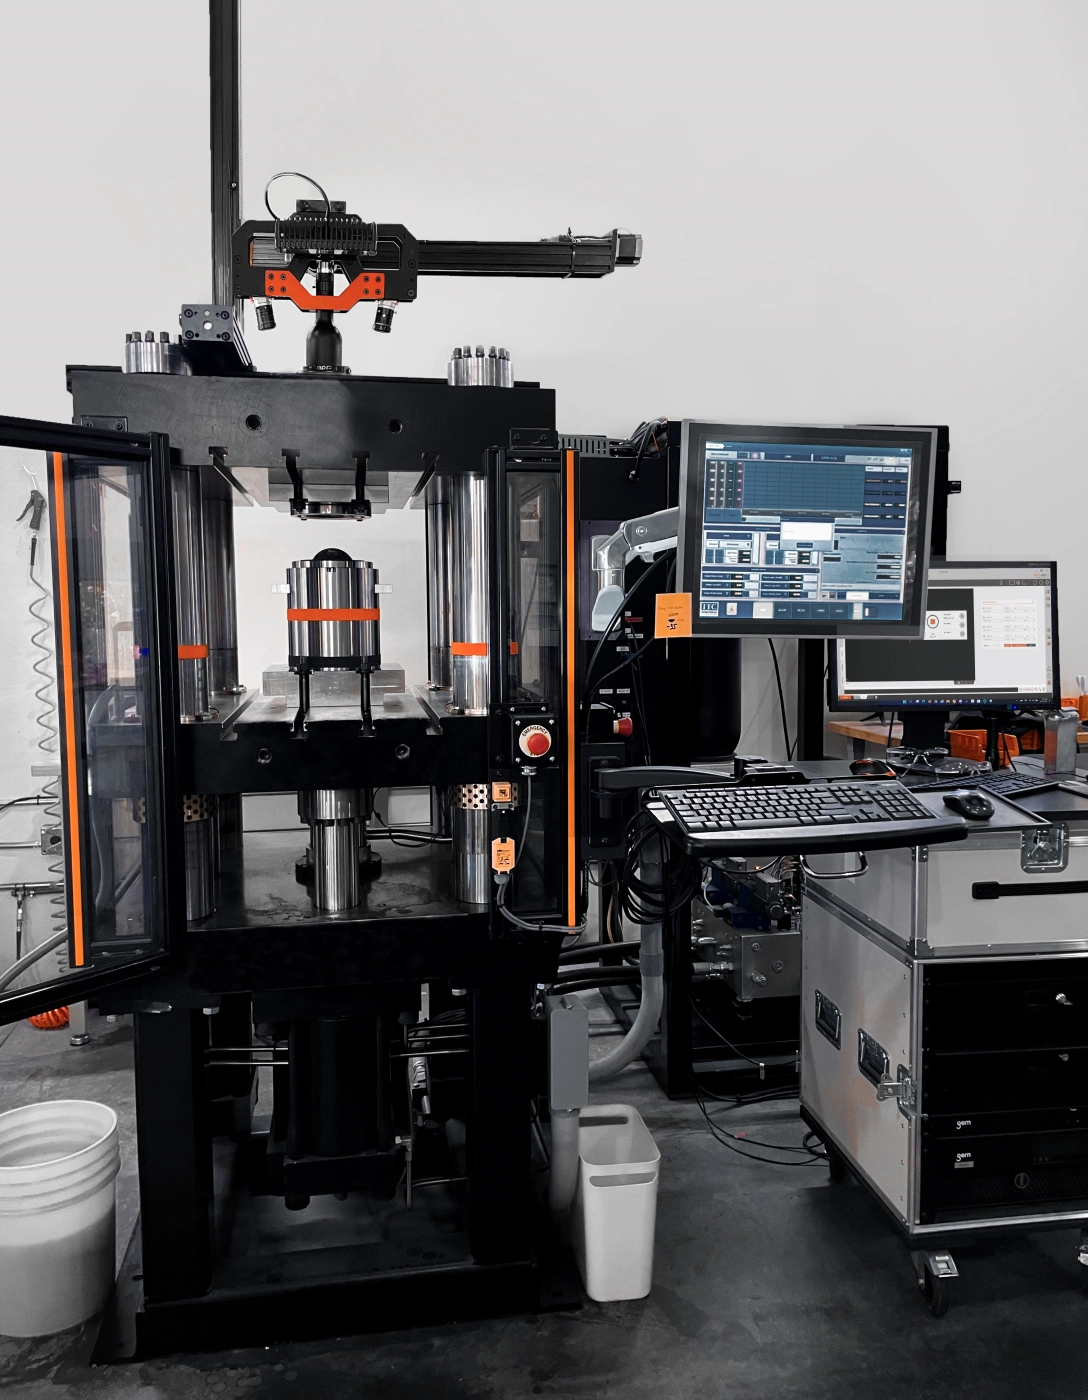
 SP400: Dual Acting Press System
In contrast, hydraulic setups are somewhat less user-friendly. They require a water-oil mixture to avoid corroding the testing equipment. This mixture must be refilled between tests.
Hydraulic setups are messy and can create problems with strain sensing (more on that below). However, hydraulic bulge testing can be performed on a much wider range of materials, including strong metals. Hydraulic systems are also easier to seal. Ultimately, hydraulic setups are more versatile, comprising the majority of bulge tests.
Bulge testing of metals often requires a large, powerful machine like a dual-acting hydraulic press. The press can clamp the test sample in place, with a sealed pressure chamber below. The machine‘s piston then travels upward, compressing the pressure chamber. This causes the sheet metal to bulge upward until it fractures.
Another important factor in bulge testing apparatus is the bulging die. Though the most common dies are circular, other shapes can be used to study the effect of different strain ratios. Circular dies create balanced biaxial strain conditions (BBT), where the minor and major strain are roughly equal. The longer and narrower the bulging die, the smaller the ratio of minor strain to major strain. This culminates with dies like the one shown below in the top left, which can create plane strain (PST) conditions with the minor strain near zero.
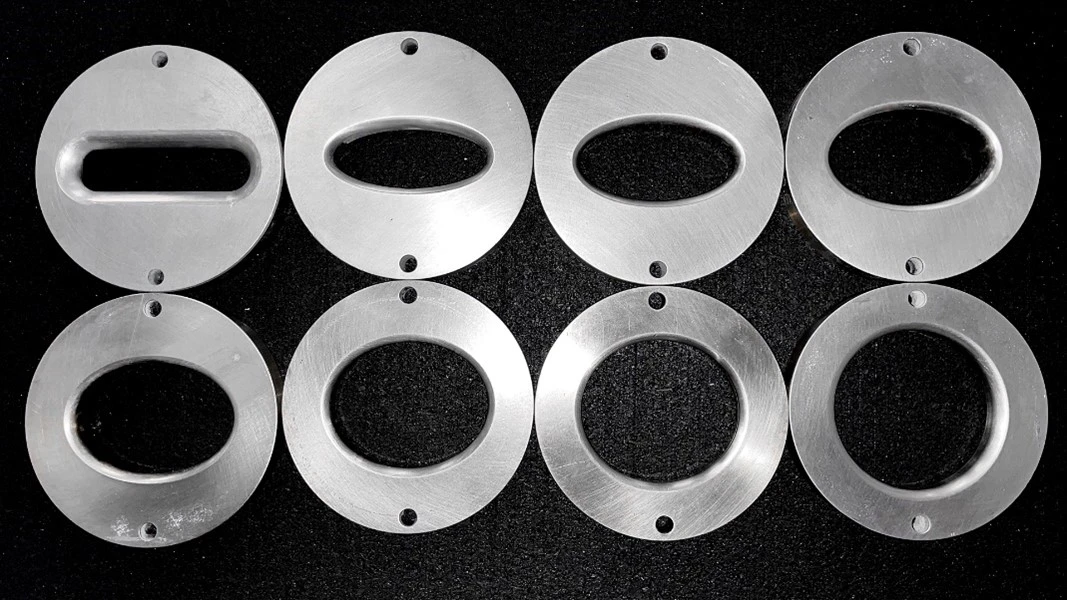
 Dies used for Bulge Testing
Like all material tests, bulge testing requires appropriate sensors. While mechanical testing methods typically feature load cells and extensometers, force data is not very useful in bulge testing. Instead, this testing utilizes pressure sensors, which can better describe the conditions being applied to the material. For strain sensing, digital image correlation (DIC) is the best choice. Unlike conventional strain sensors, DIC can measure strain over the whole surface of the sample simultaneously. To capture the strain, DIC systems must be mounted above the testing setup to look down at the deforming sample surface.
One minor drawback of this setup is important to mention. When the material sample bursts, this configuration places the DIC system directly in the path of a jet of pressurized fluid. This is of little concern when the testing fluid is air, but hydraulic testing setups can cause serious damage to unprotected camera lenses. To shield the camera systems, a clear glass panel must be placed between the testing apparatus and the DIC cameras. This panel must be cleaned and replaced after every test, which can slow down the pace of testing. Additionally, any marks or smudges left on the glass can interfere with the ability of DIC to measure strains. Thus, careful maintenance of the glass shield is important.
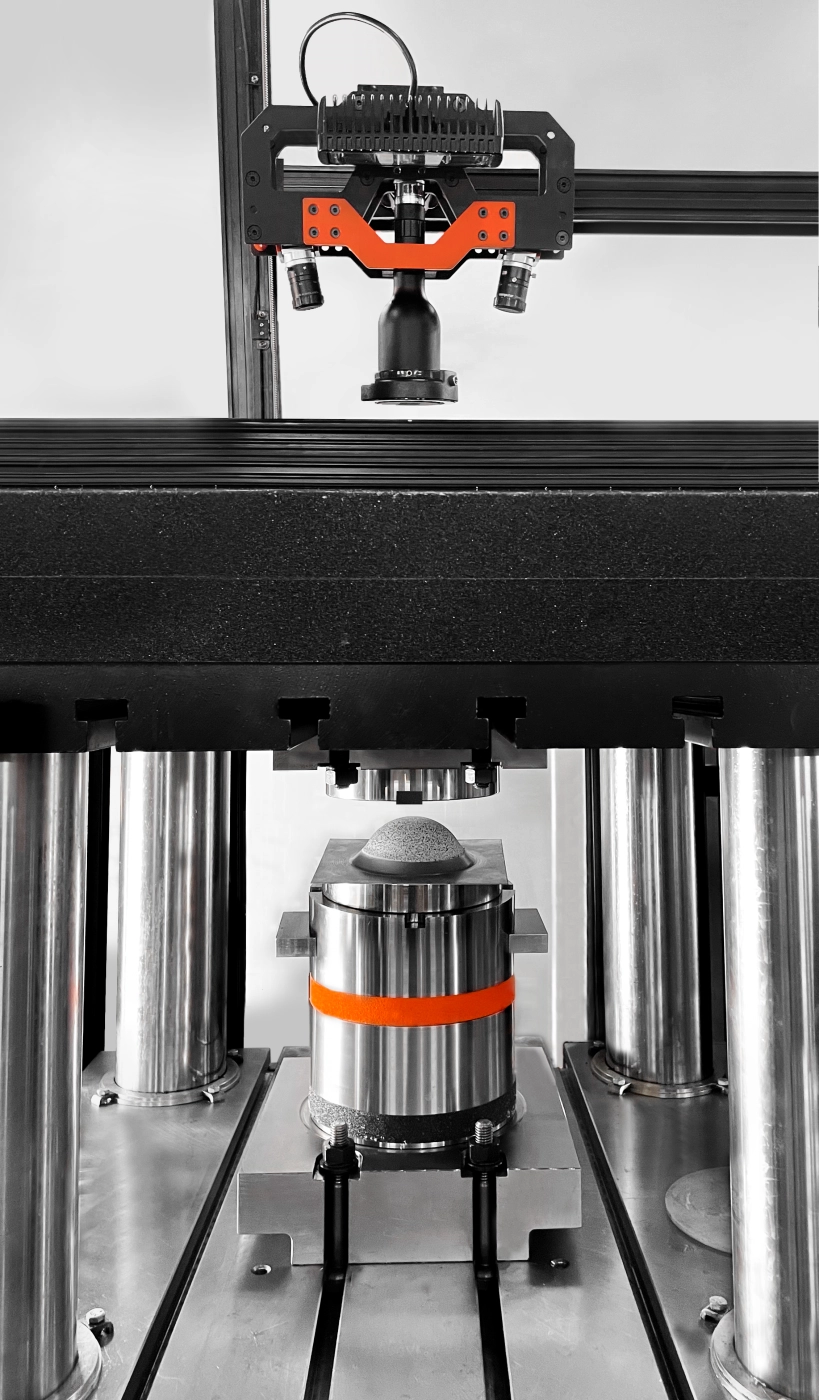
 Mini Bulge Setup with 3D DIC at FADI-AMT lab
Test Sample Geometry
Sample design for bulge testing is straightforward. All that is required is a flat sheet of material equal to or larger than the bulging die being used. To prevent leaking, it is advisable to clamp the material firmly over a small area. Large testing machines often use a bead to accomplish this. The bead bites into the material and deforms it, effectively sealing it over the pressure chamber. This effect is shown on the fractured sample below.
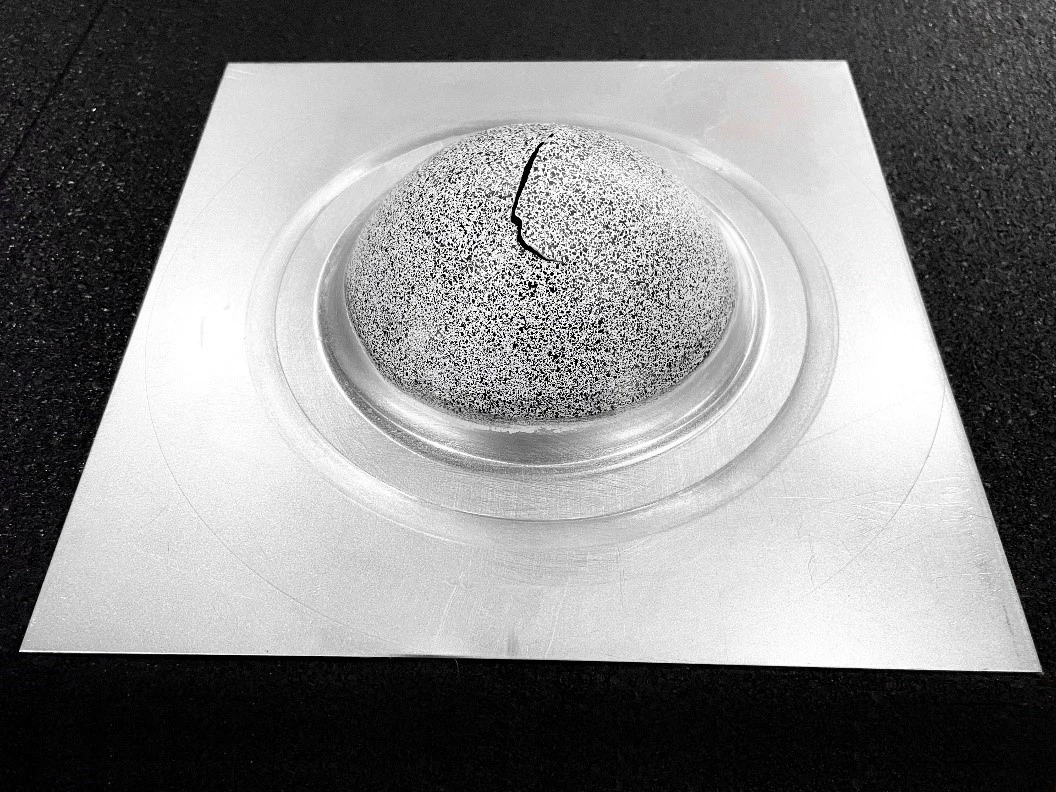
 Fractured Sample after Bulge Testing
Bulge Testing Results
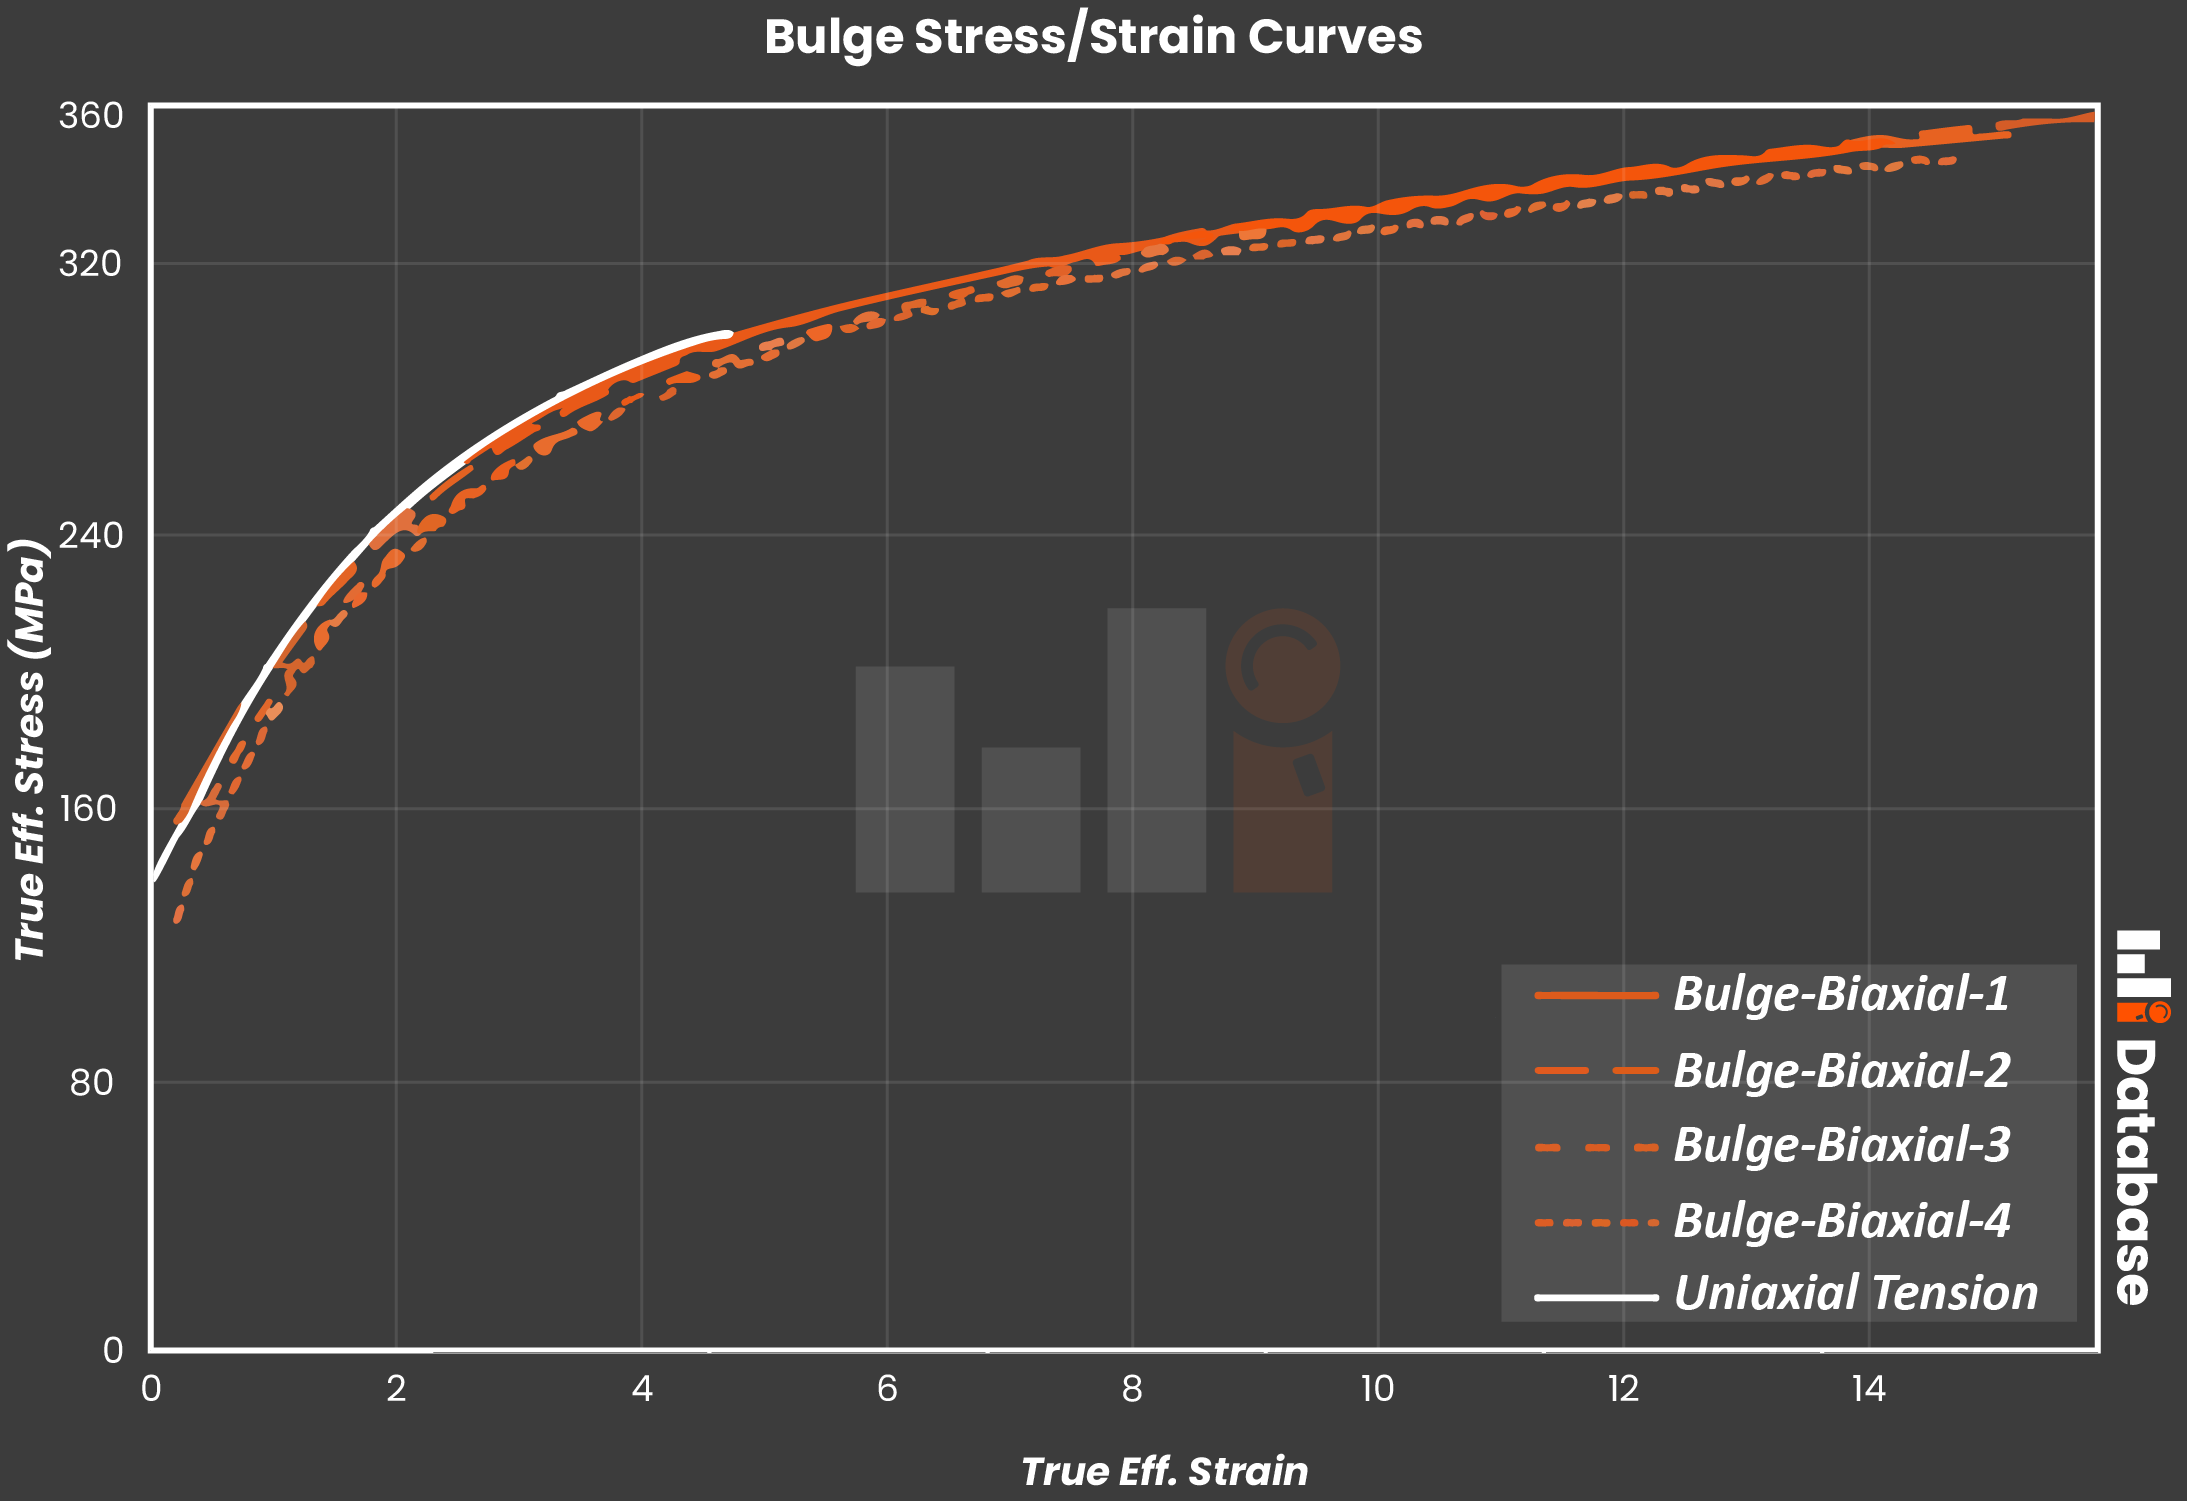
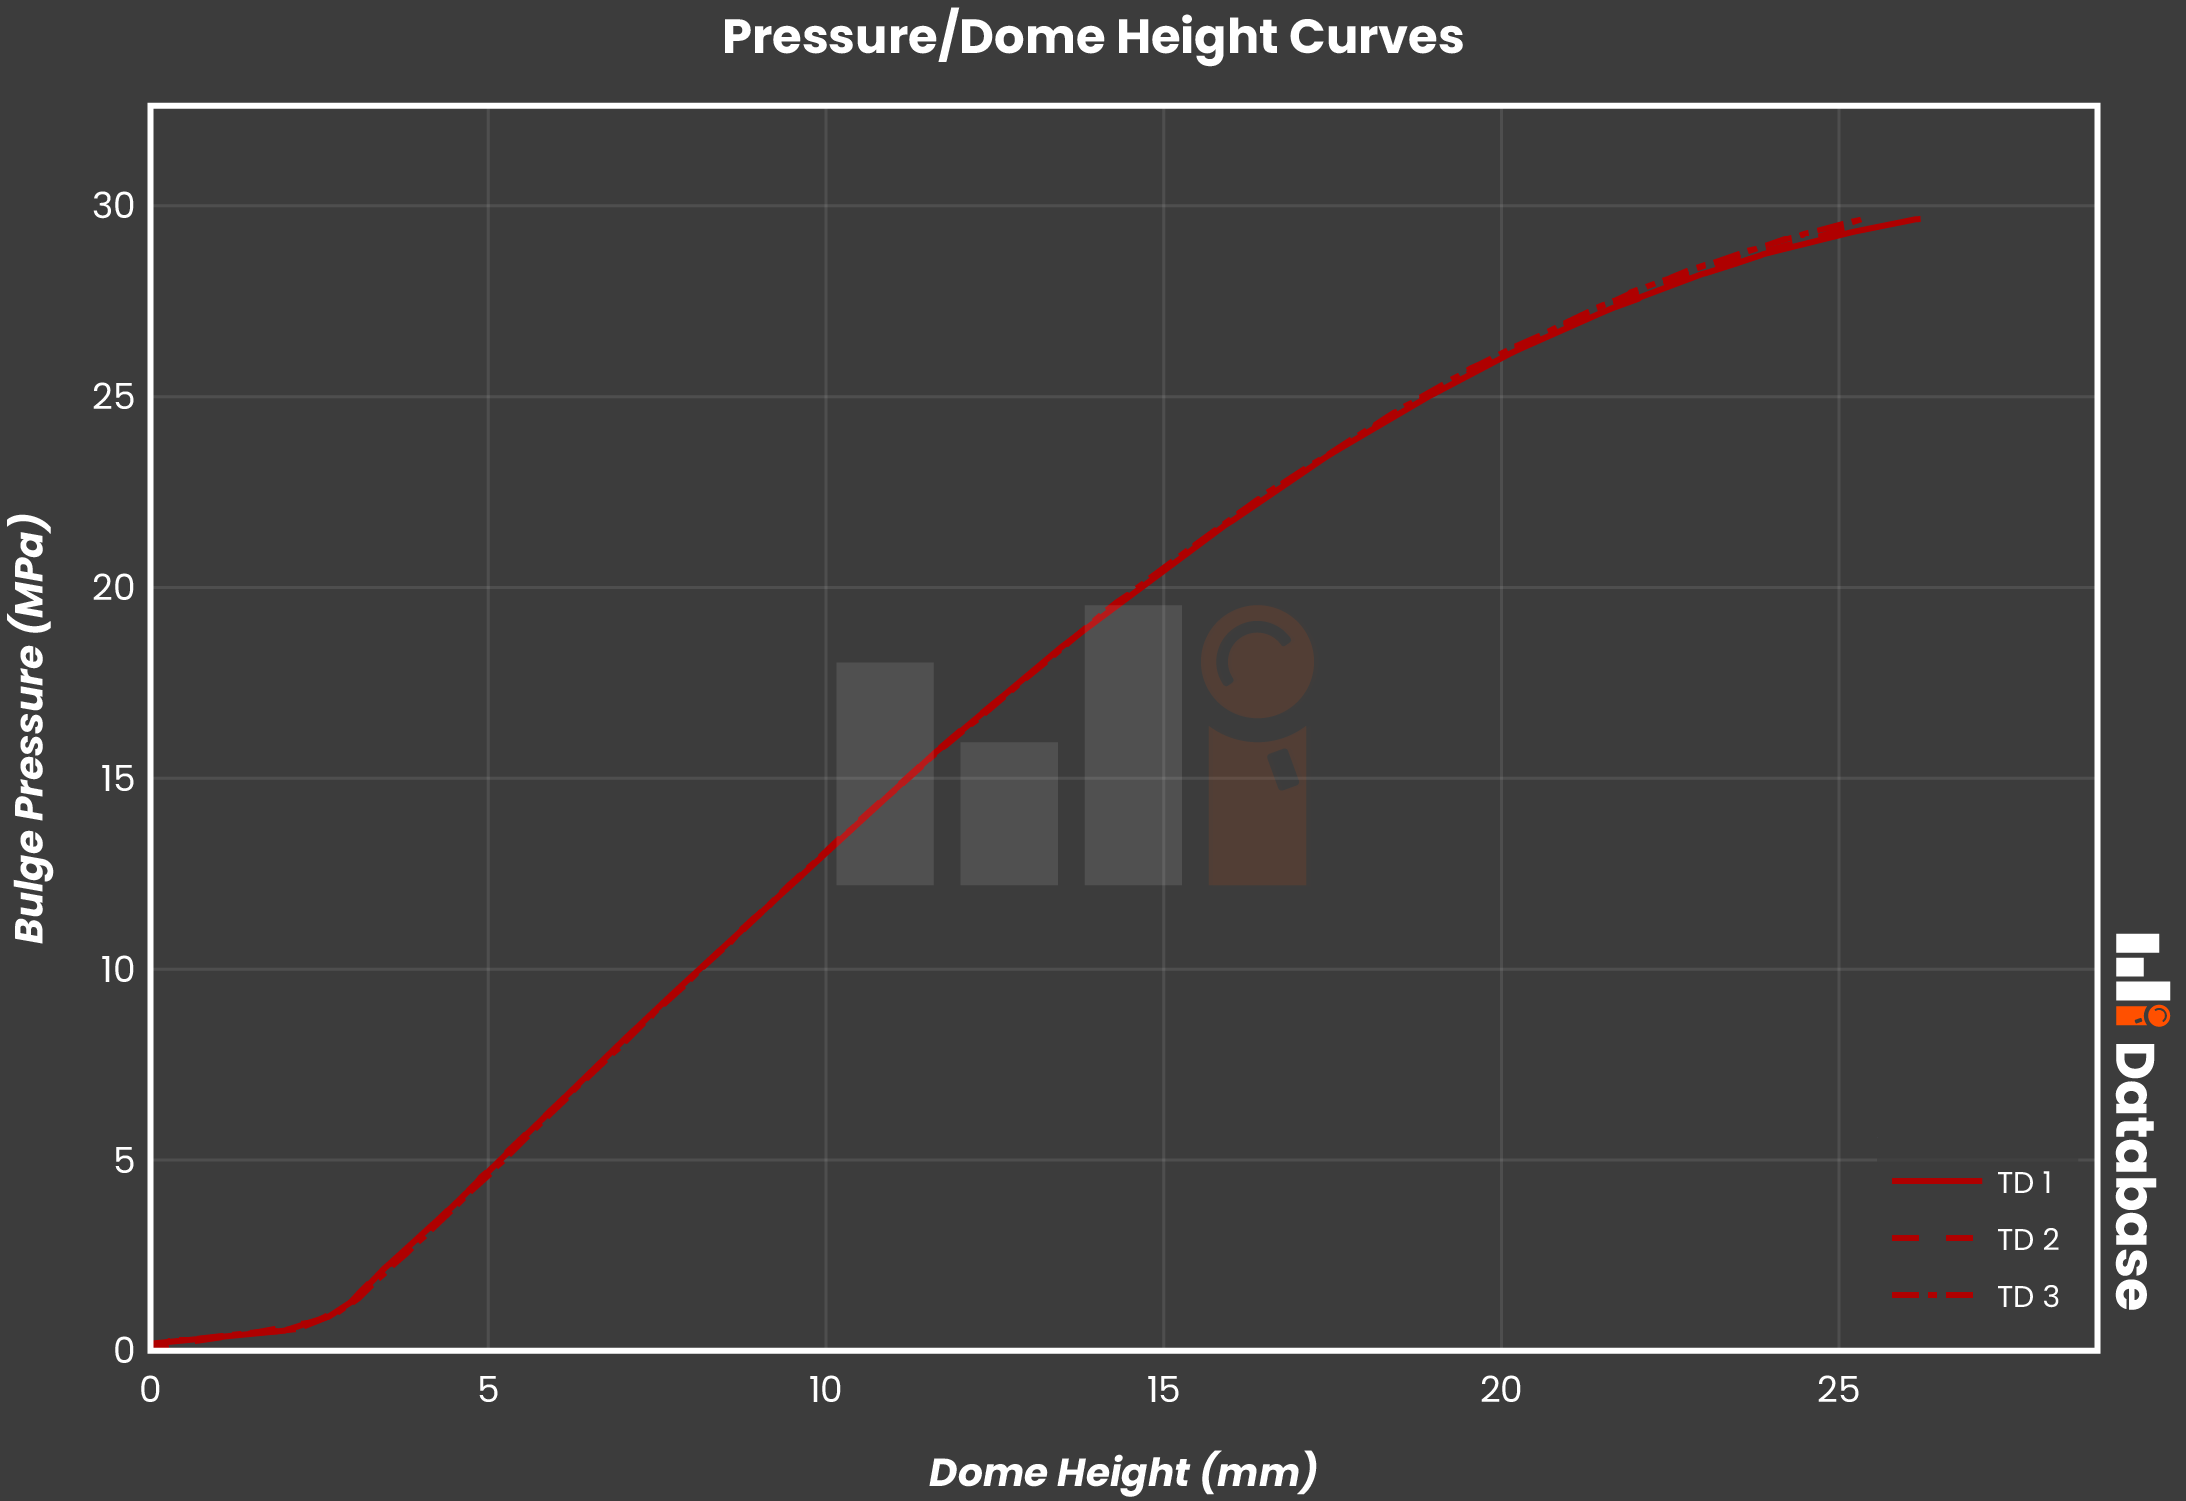
Since bulge testing refers to a family of testing methods, a wide variety of results can be sought depending on the specific method employed. The most important output for sheet metal testing is the pressure-dome height plot, which can be used (when coupled with DIC strain measurements) to generate an “effective stress/strain” plot. This is equivalent to the stress/strain curve obtained from the uniaxial tension test, but it just corresponds to the balanced biaxial loading state.
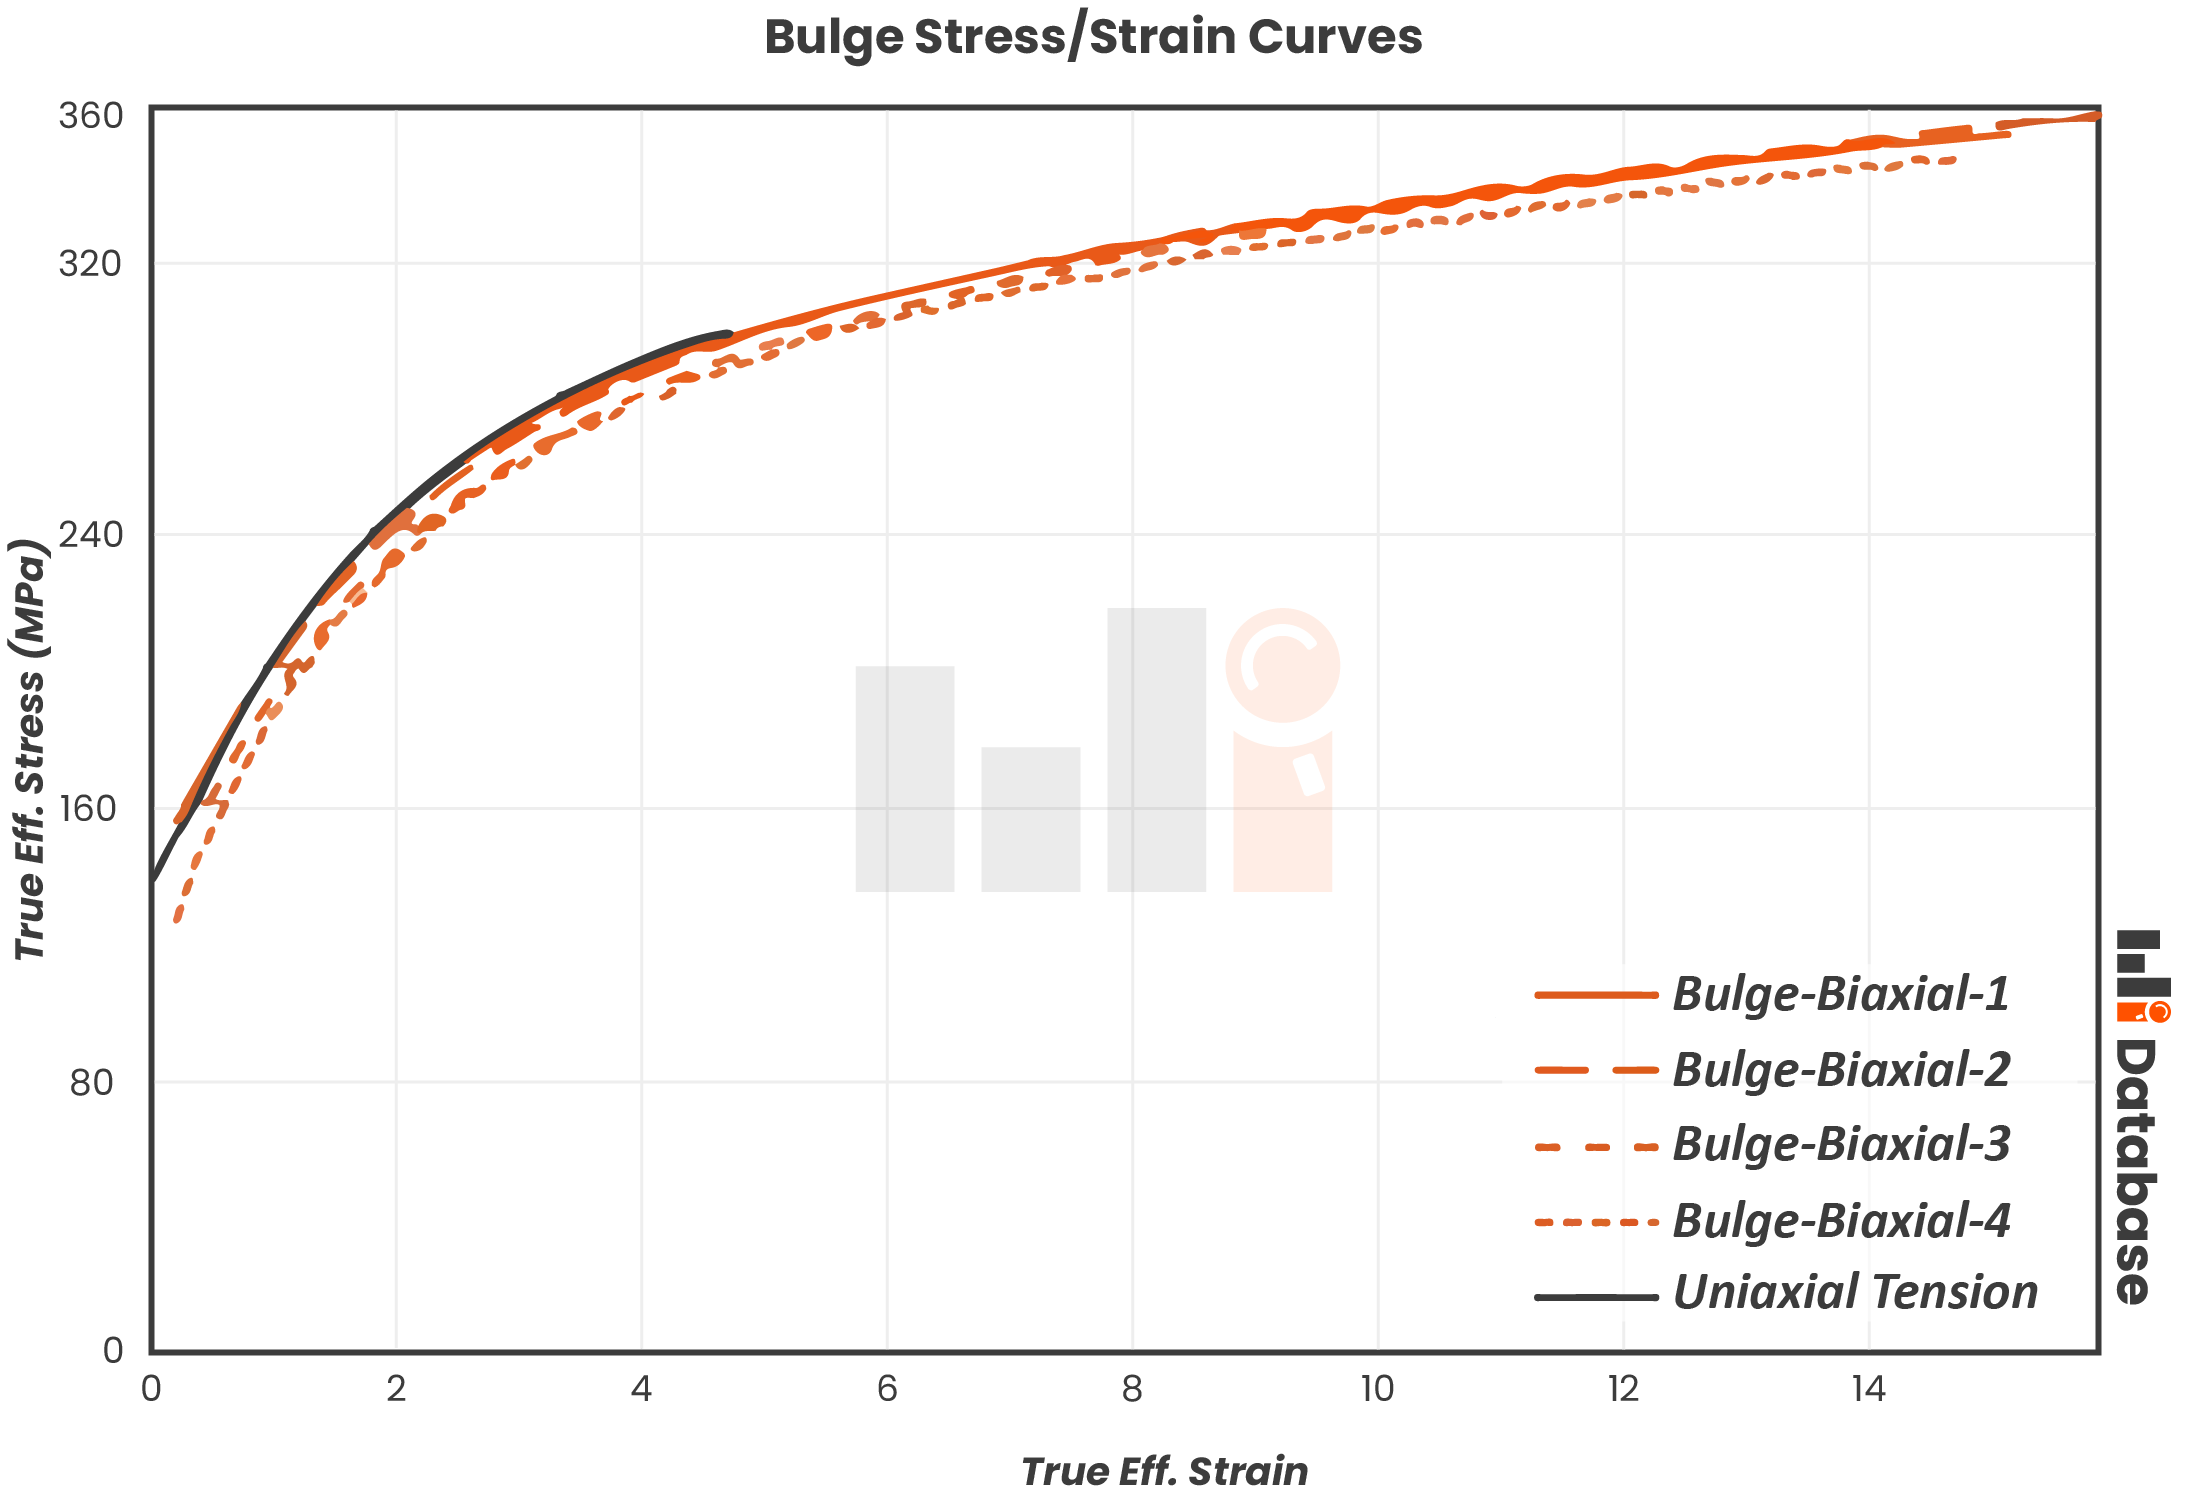
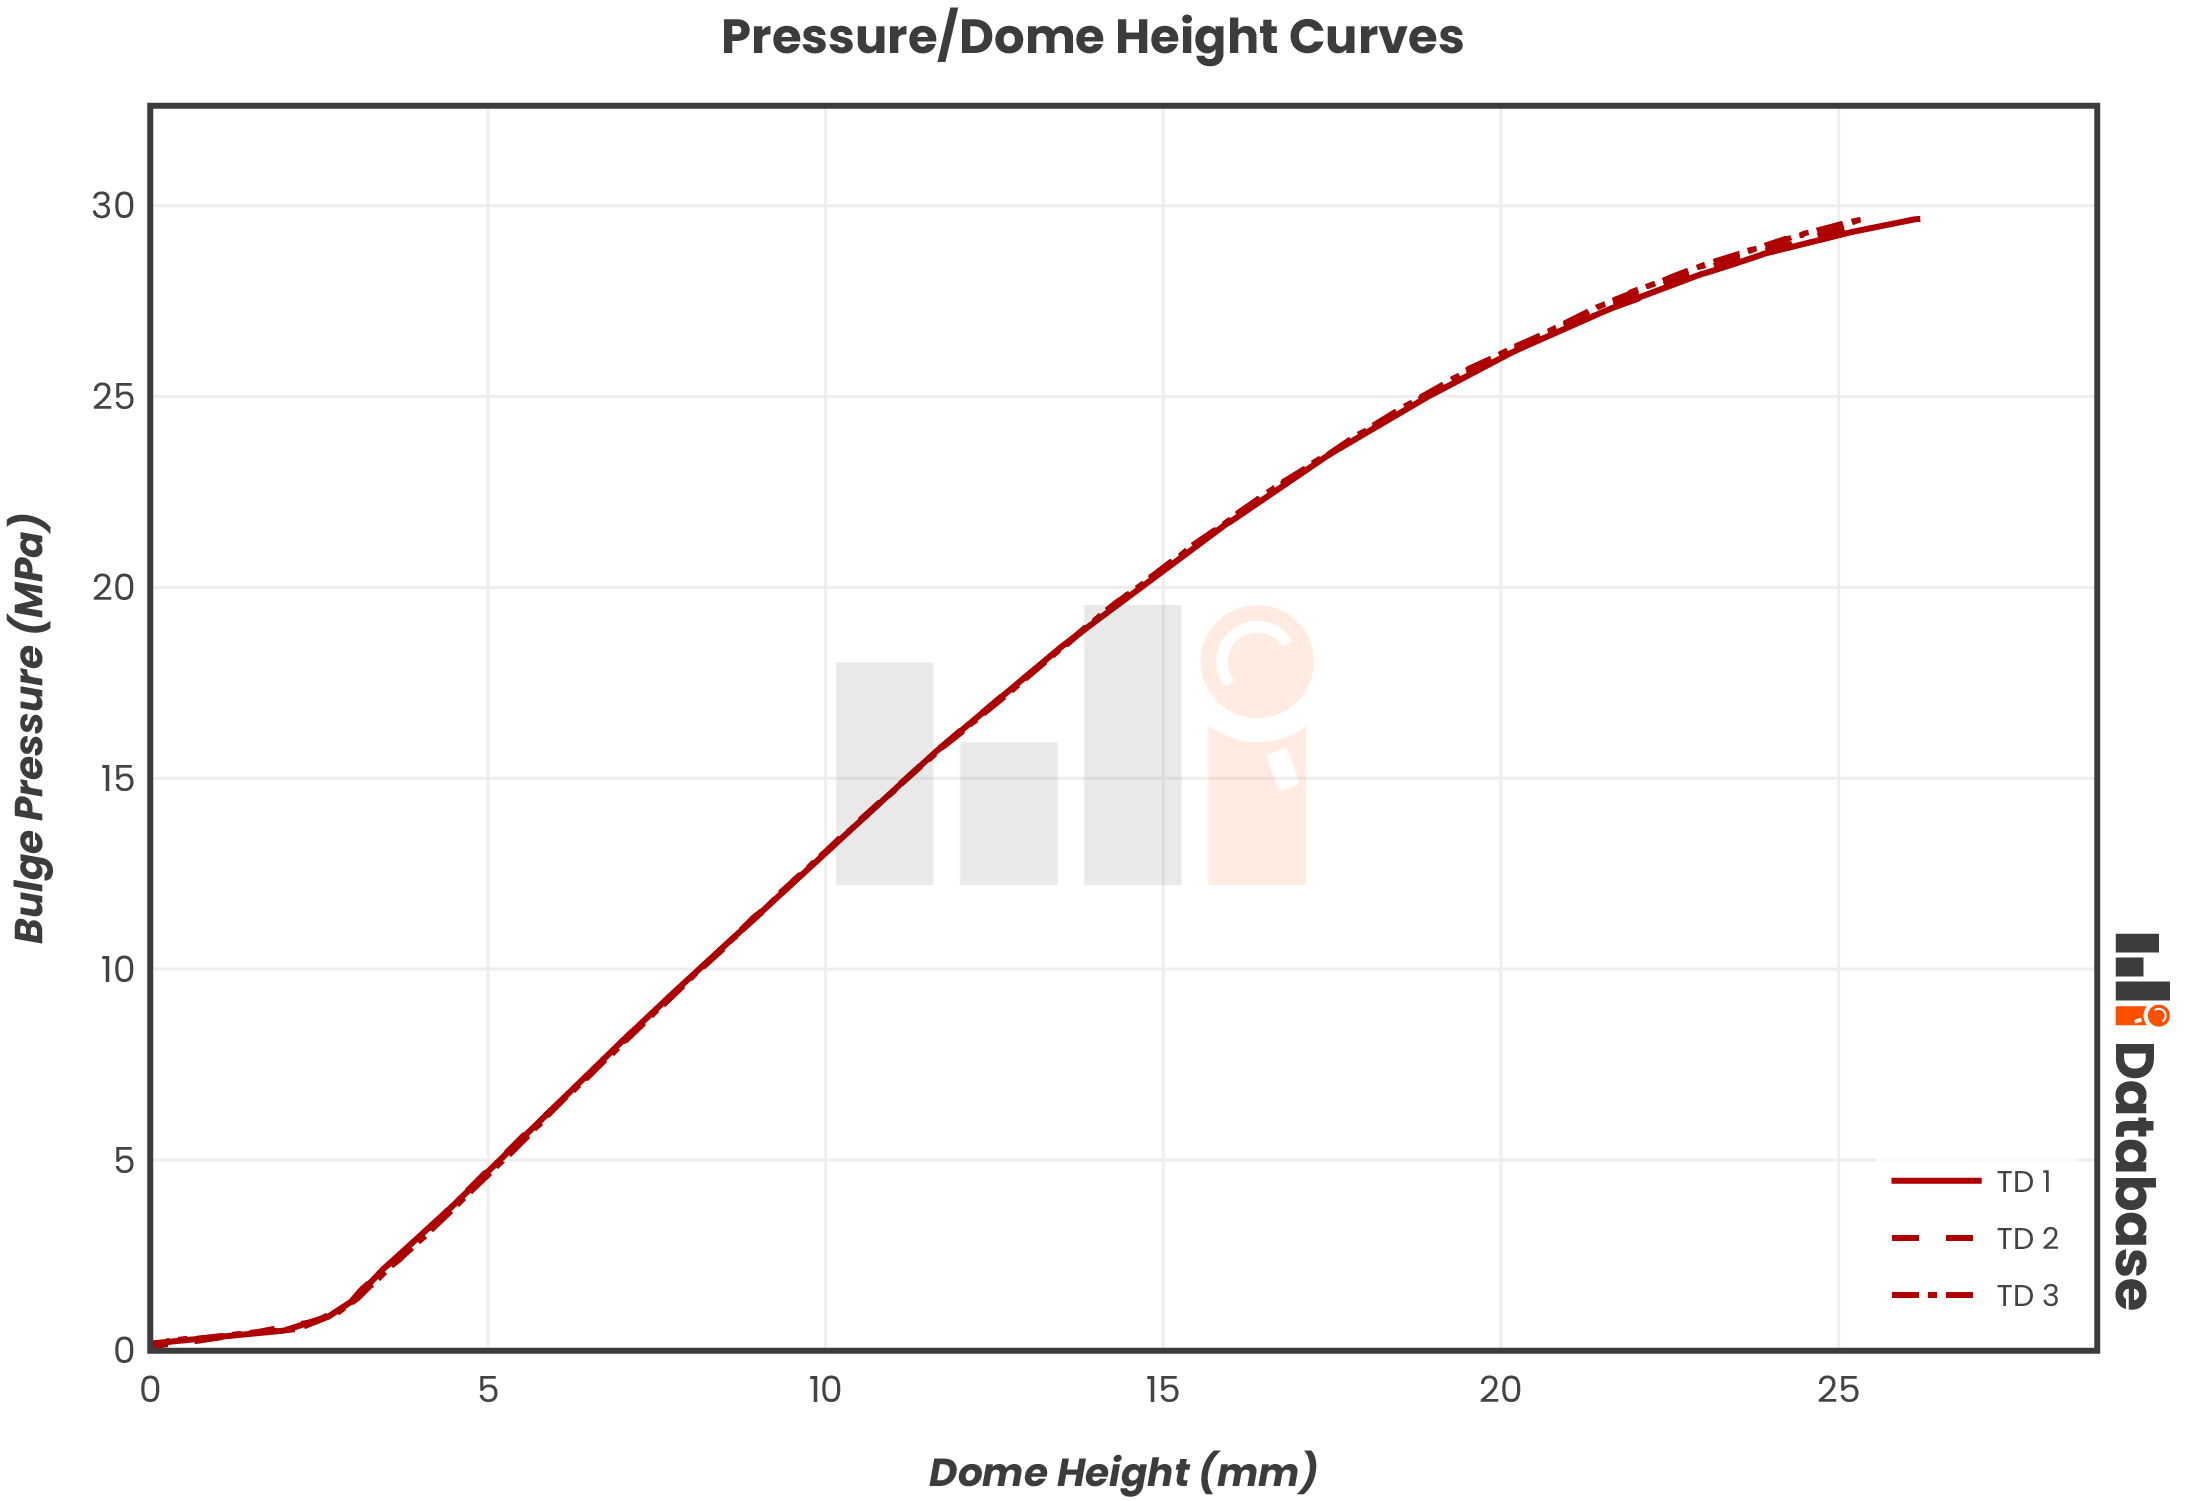
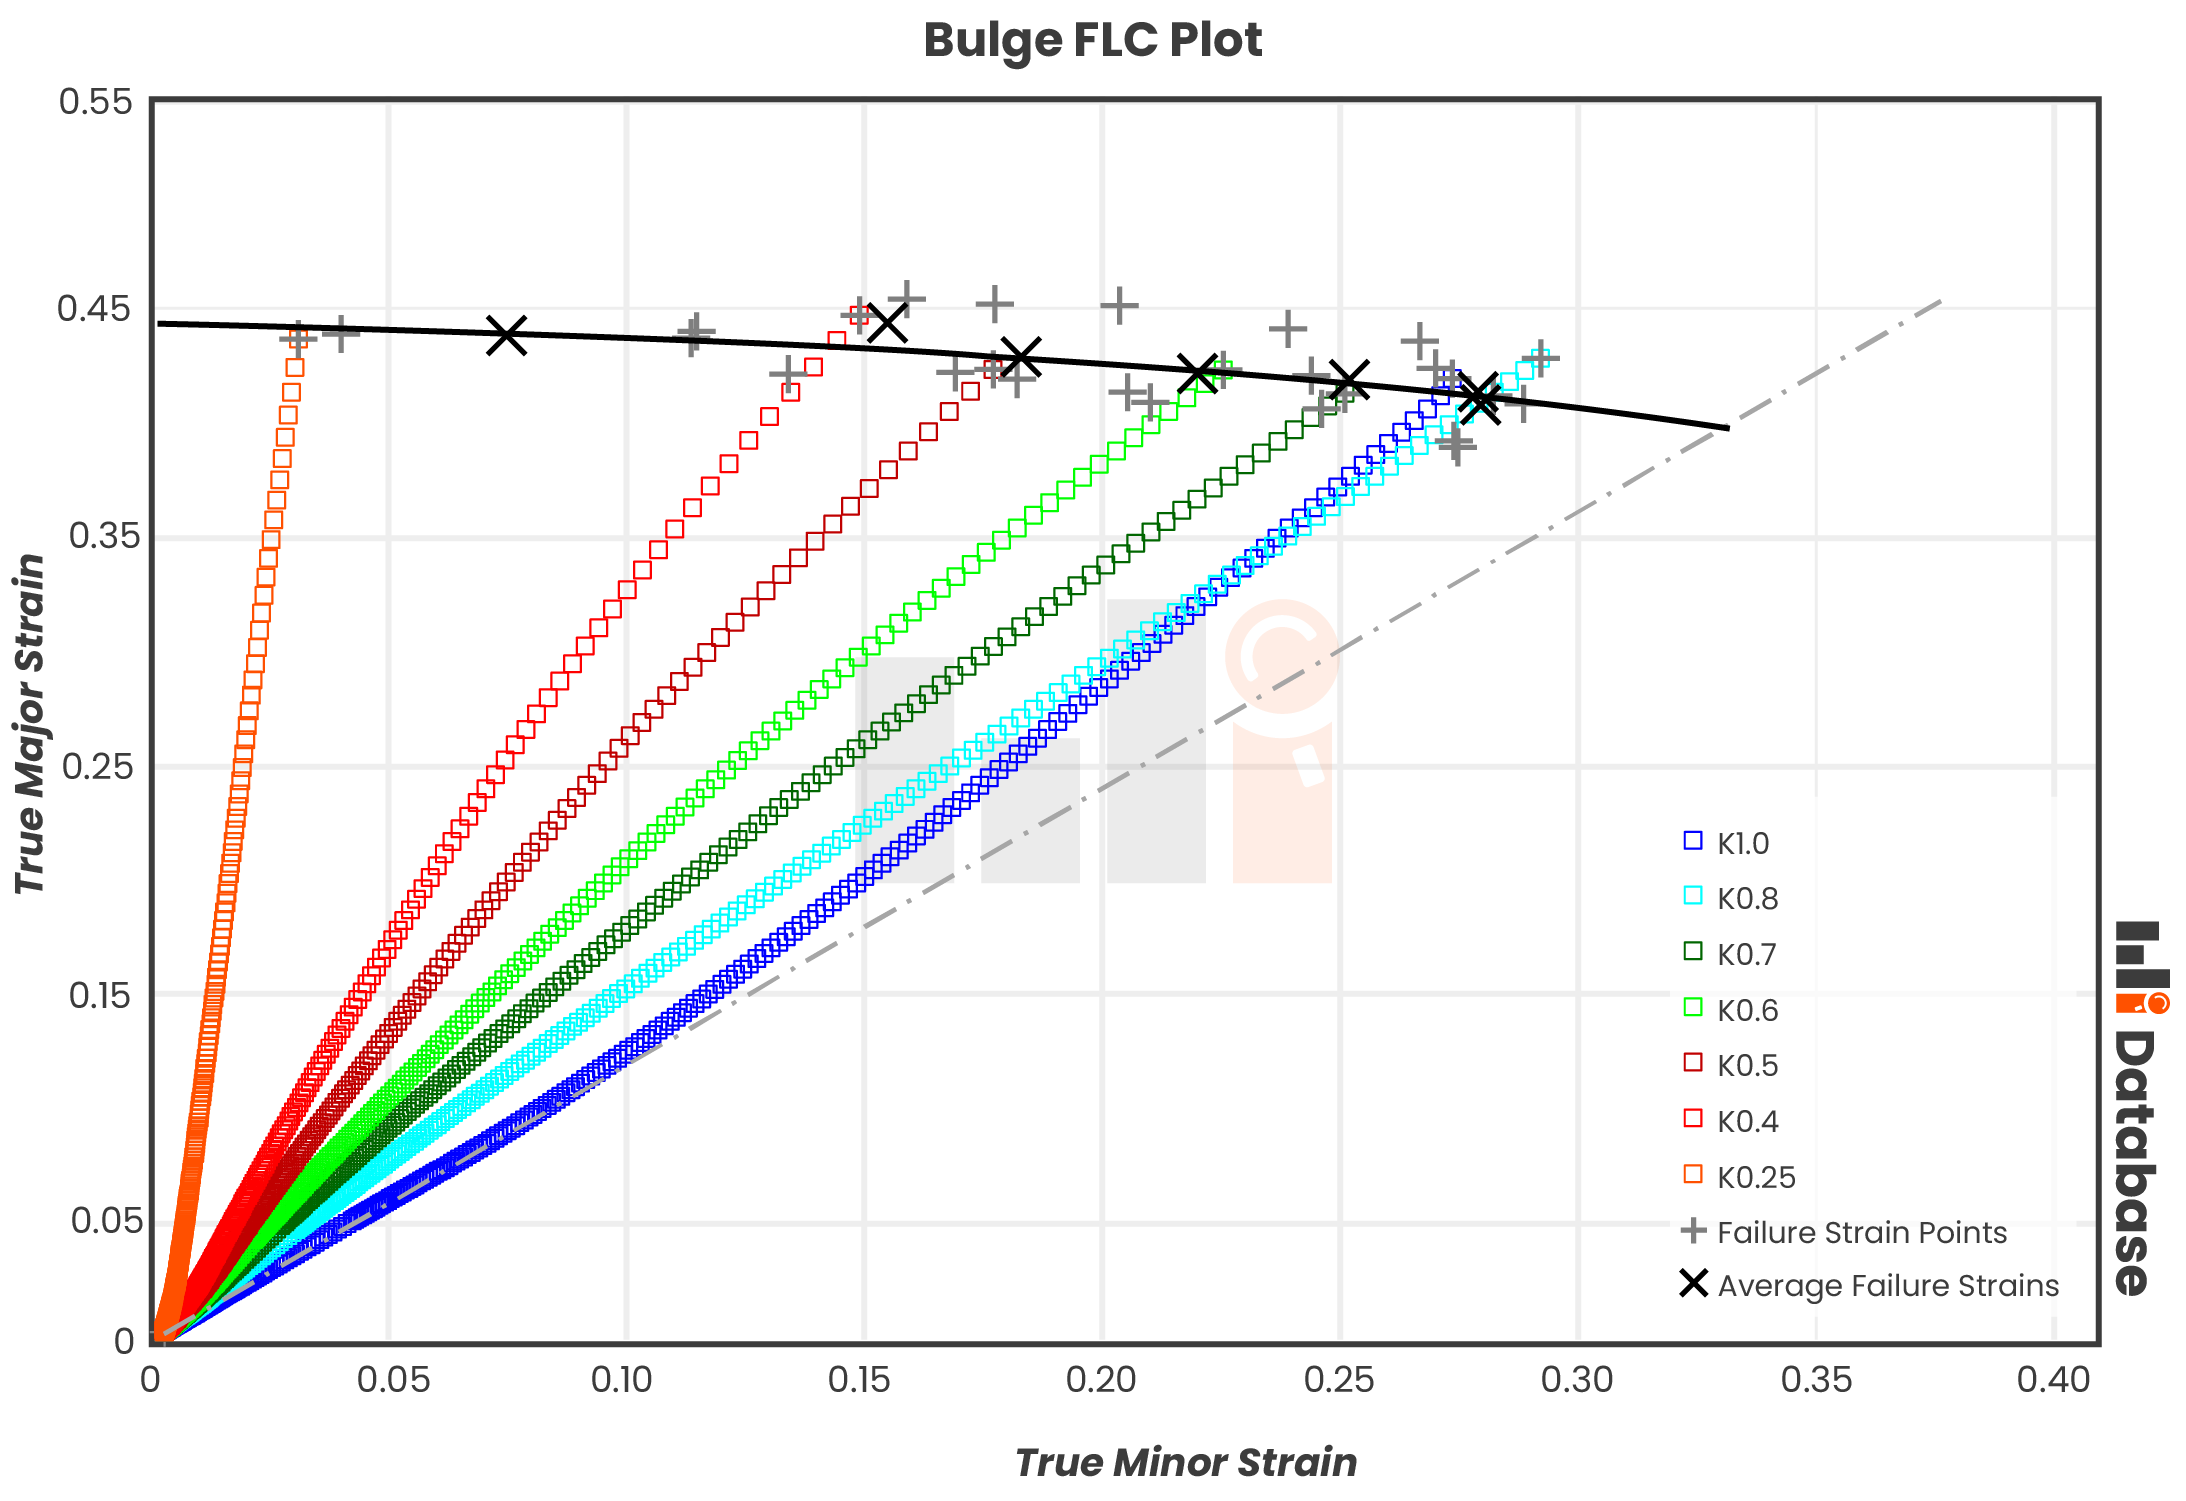
One other possible product of bulge testing is the forming limit curve (FLC), which shows how much strain a material can withstand over a wide range of biaxial strain ratios. Standard FLC methods call for a mechanical punch, but some materials cannot be tested this way. For example, foils would quickly fail with even minimal friction created by the mechanical punch. Bulge testing can be used as a substitute to generate FLCs for thin foils. However, due to the nature of fluid pressure, bulge testing can never be used to replicate uniaxial tension (UT) conditions. Uniaxial tension testing causes the stretched sample to thin, creating a negative minor strain. Bulge testing cannot create negative strains. Thus, only the right-hand side of an FLC can be generated using bulge testing.
Bulge Testing Standards
Bulge testing is primarily regulated by the international standard ISO 16808, though other standards such as ASTM E2712 cover niche methods within the umbrella of bulge testing.

